- Home
- Knowledge library
- Assessing fat levels in beef cattle
Assessing fat levels in beef cattle
Learn more about where to handle live animals to assess fatness levels.
Back to: Selecting beef cattle for slaughter
Monitoring fat levels
Marketing animals at the correct fat level is paramount.
Processors, retailers and consumers do not want meat with excess fat.
Fat development is predominantly influenced by diet, although heifers will lay down fat more quickly than steers or bulls, as will earlier-maturing breeds.
Keeping an eye on fat levels in the final stages of finishing is essential to be able to market the animal at the correct fat level. There is little demand for overfat animals.
It is estimated that it takes four times the amount of feed energy for an animal to put on a kilo of fat compared with a kilo of muscle. Producing ‘fat’ cattle costs farmers far more in feeding than any gain from sending heavier animals.
Handling points
There are three key areas to focus on when assessing fat levels:
- The pin bones and either side of the tail head.
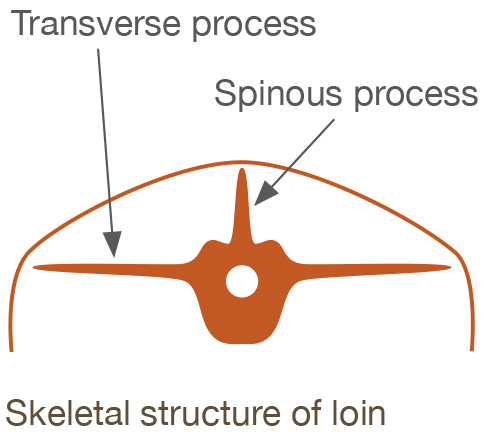
- The transverse processes of the loin.
- The ribs.
Whenever possible, handle animals over the loin on the left side as seen from behind. Kidney fat, under the tips of the transverse processes, on the right-hand side can be misleading in assessing fat cover. Use just the tips of fingers to feel fat depth over the underlying muscle and bone at each of the handling points.
As animals get fatter, the ends of the transverse processes (bones) over the loin and pin bones, as well as the shoulder blade ridge, become more rounded. The hollows between the ribs and shoulders fill up completely at the highest fat levels.
Hide thickness varies with breed. Consider this when assessing fatness, particularly over the tailhead, loin and ribs.
Tailhead
- 1&2 – Skin is tight. Area around root of tail and over the pin bones is firm and unyielding
- 3 – Indication of very thin fat cover which yields slightly to moderate pressure
- 4L – Thin layer of fat felt when skin on either side of tail head is pinched between fingers and thumb. Thin soft layer is felt over the pin bones
- 4H – Looks slightly puffy; soft layer of fat felt using light pressure. Surface area around pin bones is soft and the fat tends to spread back towards the tailhead
- 5L – Looks puffy and feels spongy. Moderate fat cover over pin bones is felt as distinct soft layer
- 5H – Looks very puffy and feels very spongy. Thick and sometimes patchy layer of soft fat over the bones
Loin
- 1&2 – Ends of transverse processes very prominent. Individual bones felt as deep corrugations
- 3 – Ends of transverse processes prominent. Individual bones are felt as corrugations
- 4L – Ends of transverse processes slightly rounded by fat, felt with light pressure
- 4H – Ends of individual transverse processes are felt only with moderate pressure
- 5L – Transverse processes are felt only with firm pressure
- 5H – Individual transverse processes cannot be felt
Ribs
- 1&2 – Ribs are prominent, clearly visible and are felt as deep corrugations
- 3 – Some fat cover is detectable over the bones but individual ribs are felt easily as corrugations
- 4L – Thin layer of fat is felt over the bones. Individual ribs felt with light pressure
- 4H – Distinct layer of soft fat is felt over the bones. Individual ribs are felt only with moderate pressure
- 5L – Thick soft fat covers ribs. Individual ribs are felt only with firm pressure
- 5H – Rib cage is smooth to the touch with a tendency to patchiness. Individual ribs cannot be felt
Fat differences
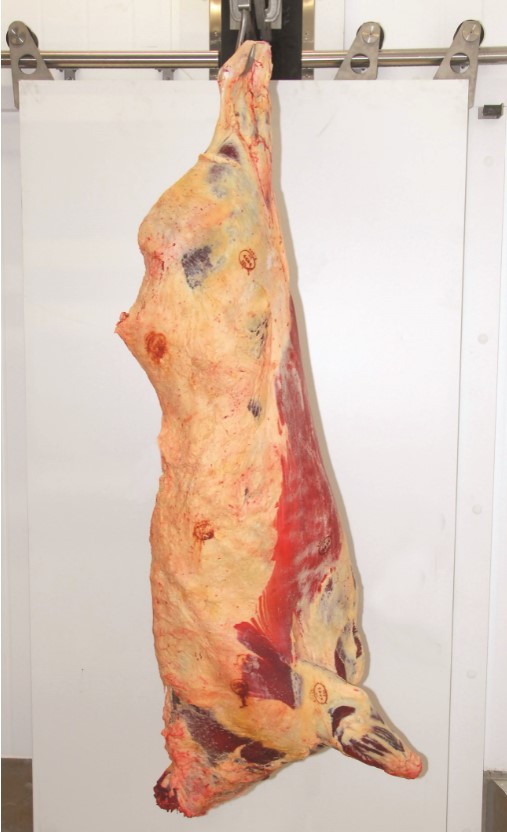
Examples of fat class 2:
.jpg)
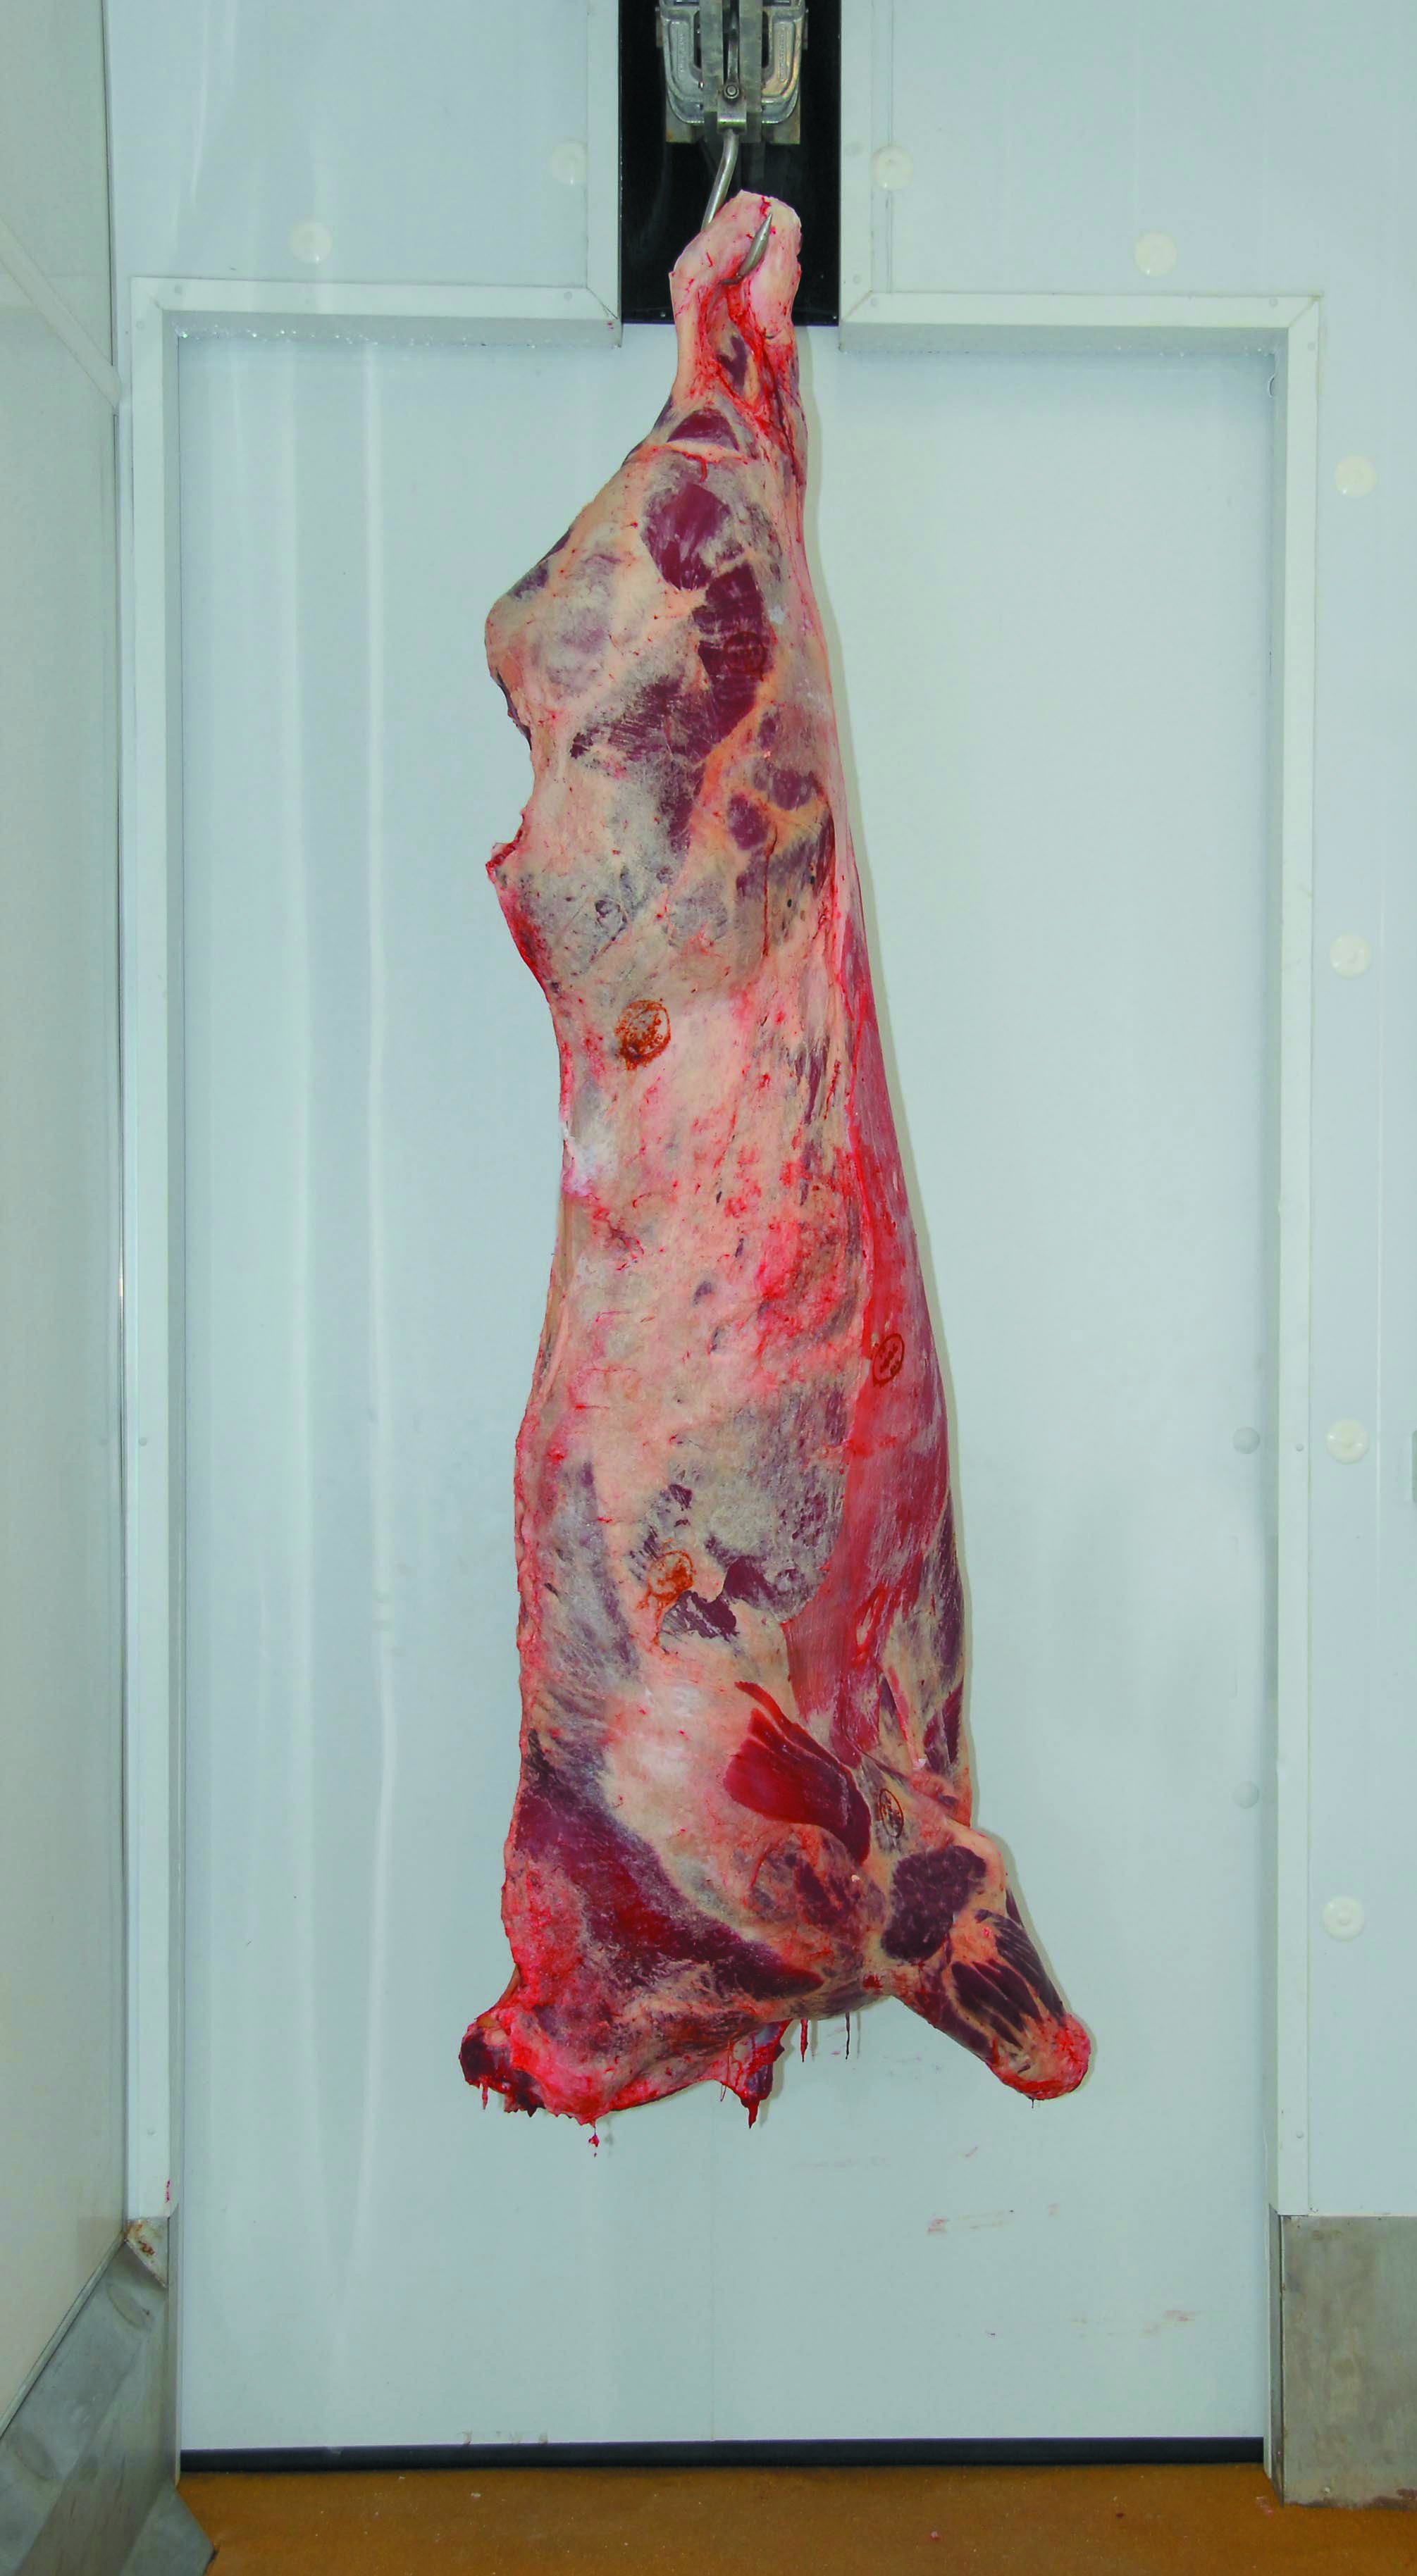
Example of fat class 5H:
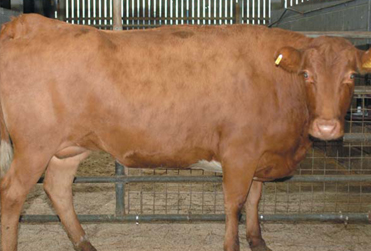
.jpg)
