- Home
- Knowledge library
- Trimming cows' feet: the five-step Dutch method
Trimming cows' feet: the five-step Dutch method
Step-by-step instructions on how to trim cattle feet.
Steps 1, 2 and 3 are functional trimming steps – these steps are used for all cattle.
Steps 4 and 5 are therapeutic trimming steps – these should be used when there is a problem with the claw.
Before you begin:
- Lift the foot so the cow is comfortable
- Clean and dry the foot with sawdust
- Work safely – do not stand where you are likely to be kicked
- Avoid over-trimming – always err on the side of caution
This is only a guide on the length for second lactation Holsteins. There is no easy method for predicting the optimum length, which will vary, and needs to be adjusted for age, breed, environmental conditions and disease.
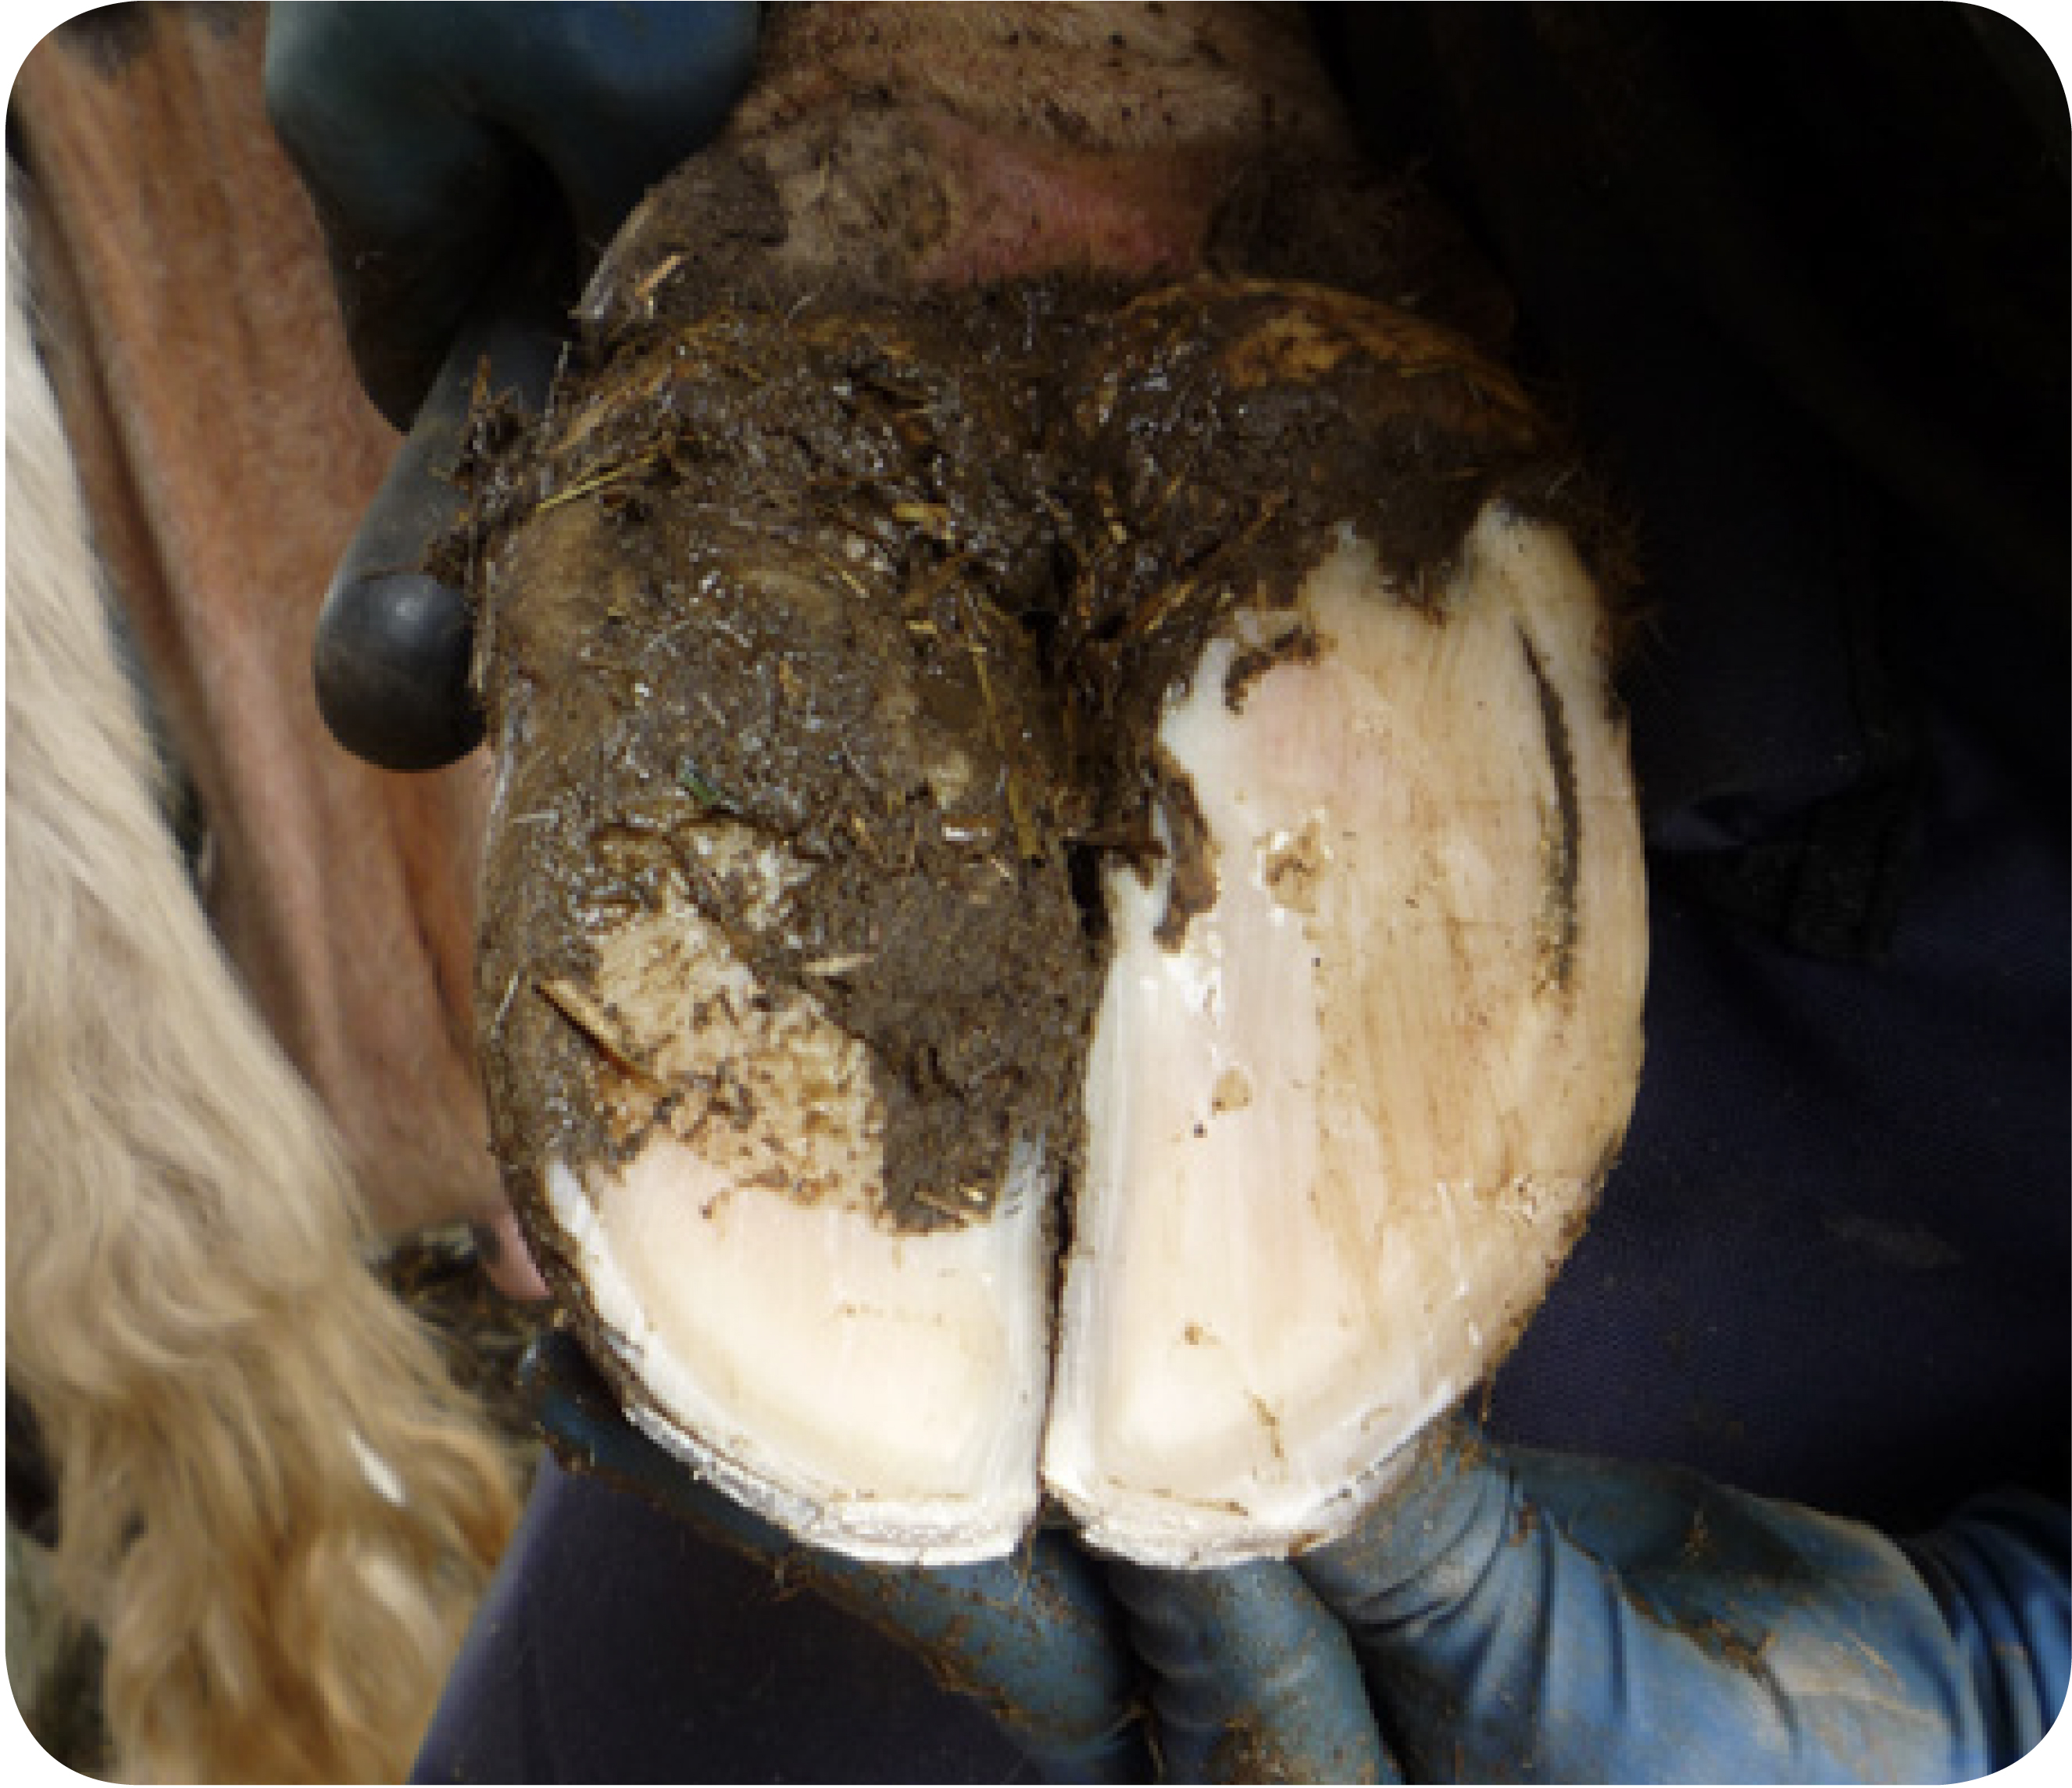
Step 1 – Measuring and trimming the first claw
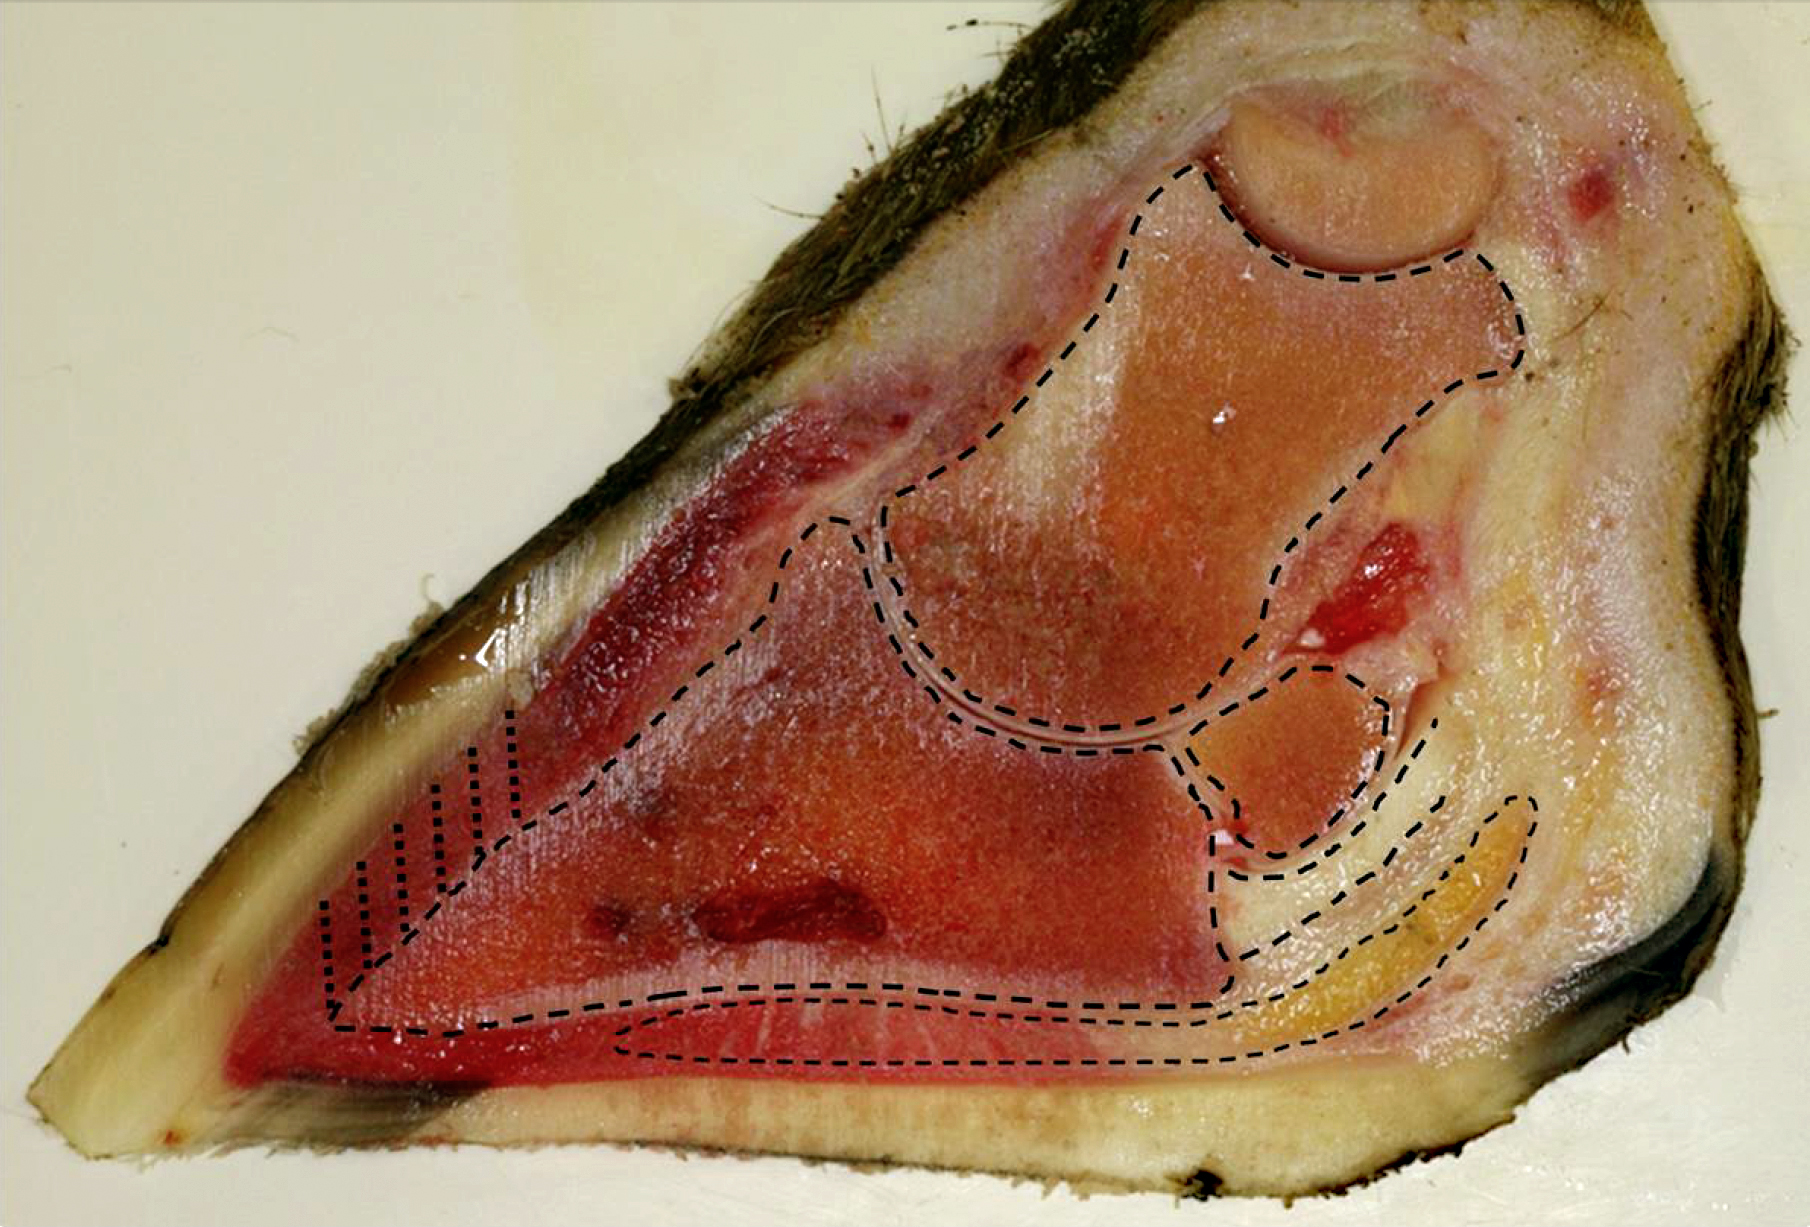
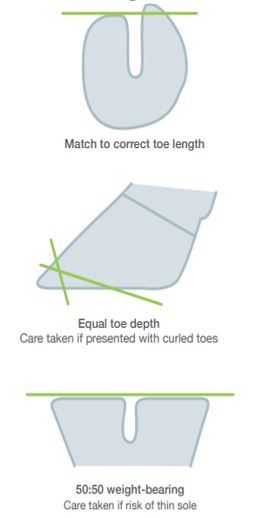
Start with the inner claw of the hind foot and the outer claw of the front foot. Measure the inner hind claw from where the top of the claw goes hard, 8 cm is a safe length for most young, healthy Holsteins.
- Add ~5 mm if the wall is measured from the hairline instead of the point at which the claw goes hard
- Add ~5 mm if the claw is trimmed to a point, instead of leaving a step at the toe
- If the claw is measured from the hairline and no step is left at the toe, 9 cm will be required
- Remove excess sole down to 5–7 mm – avoid trimming the rear of the sole, to maintain heel height and keep the toe level
- If unsure, always err on the side of safety, and avoid over-trimming
Step 2 – Matching trimming on opposing claw
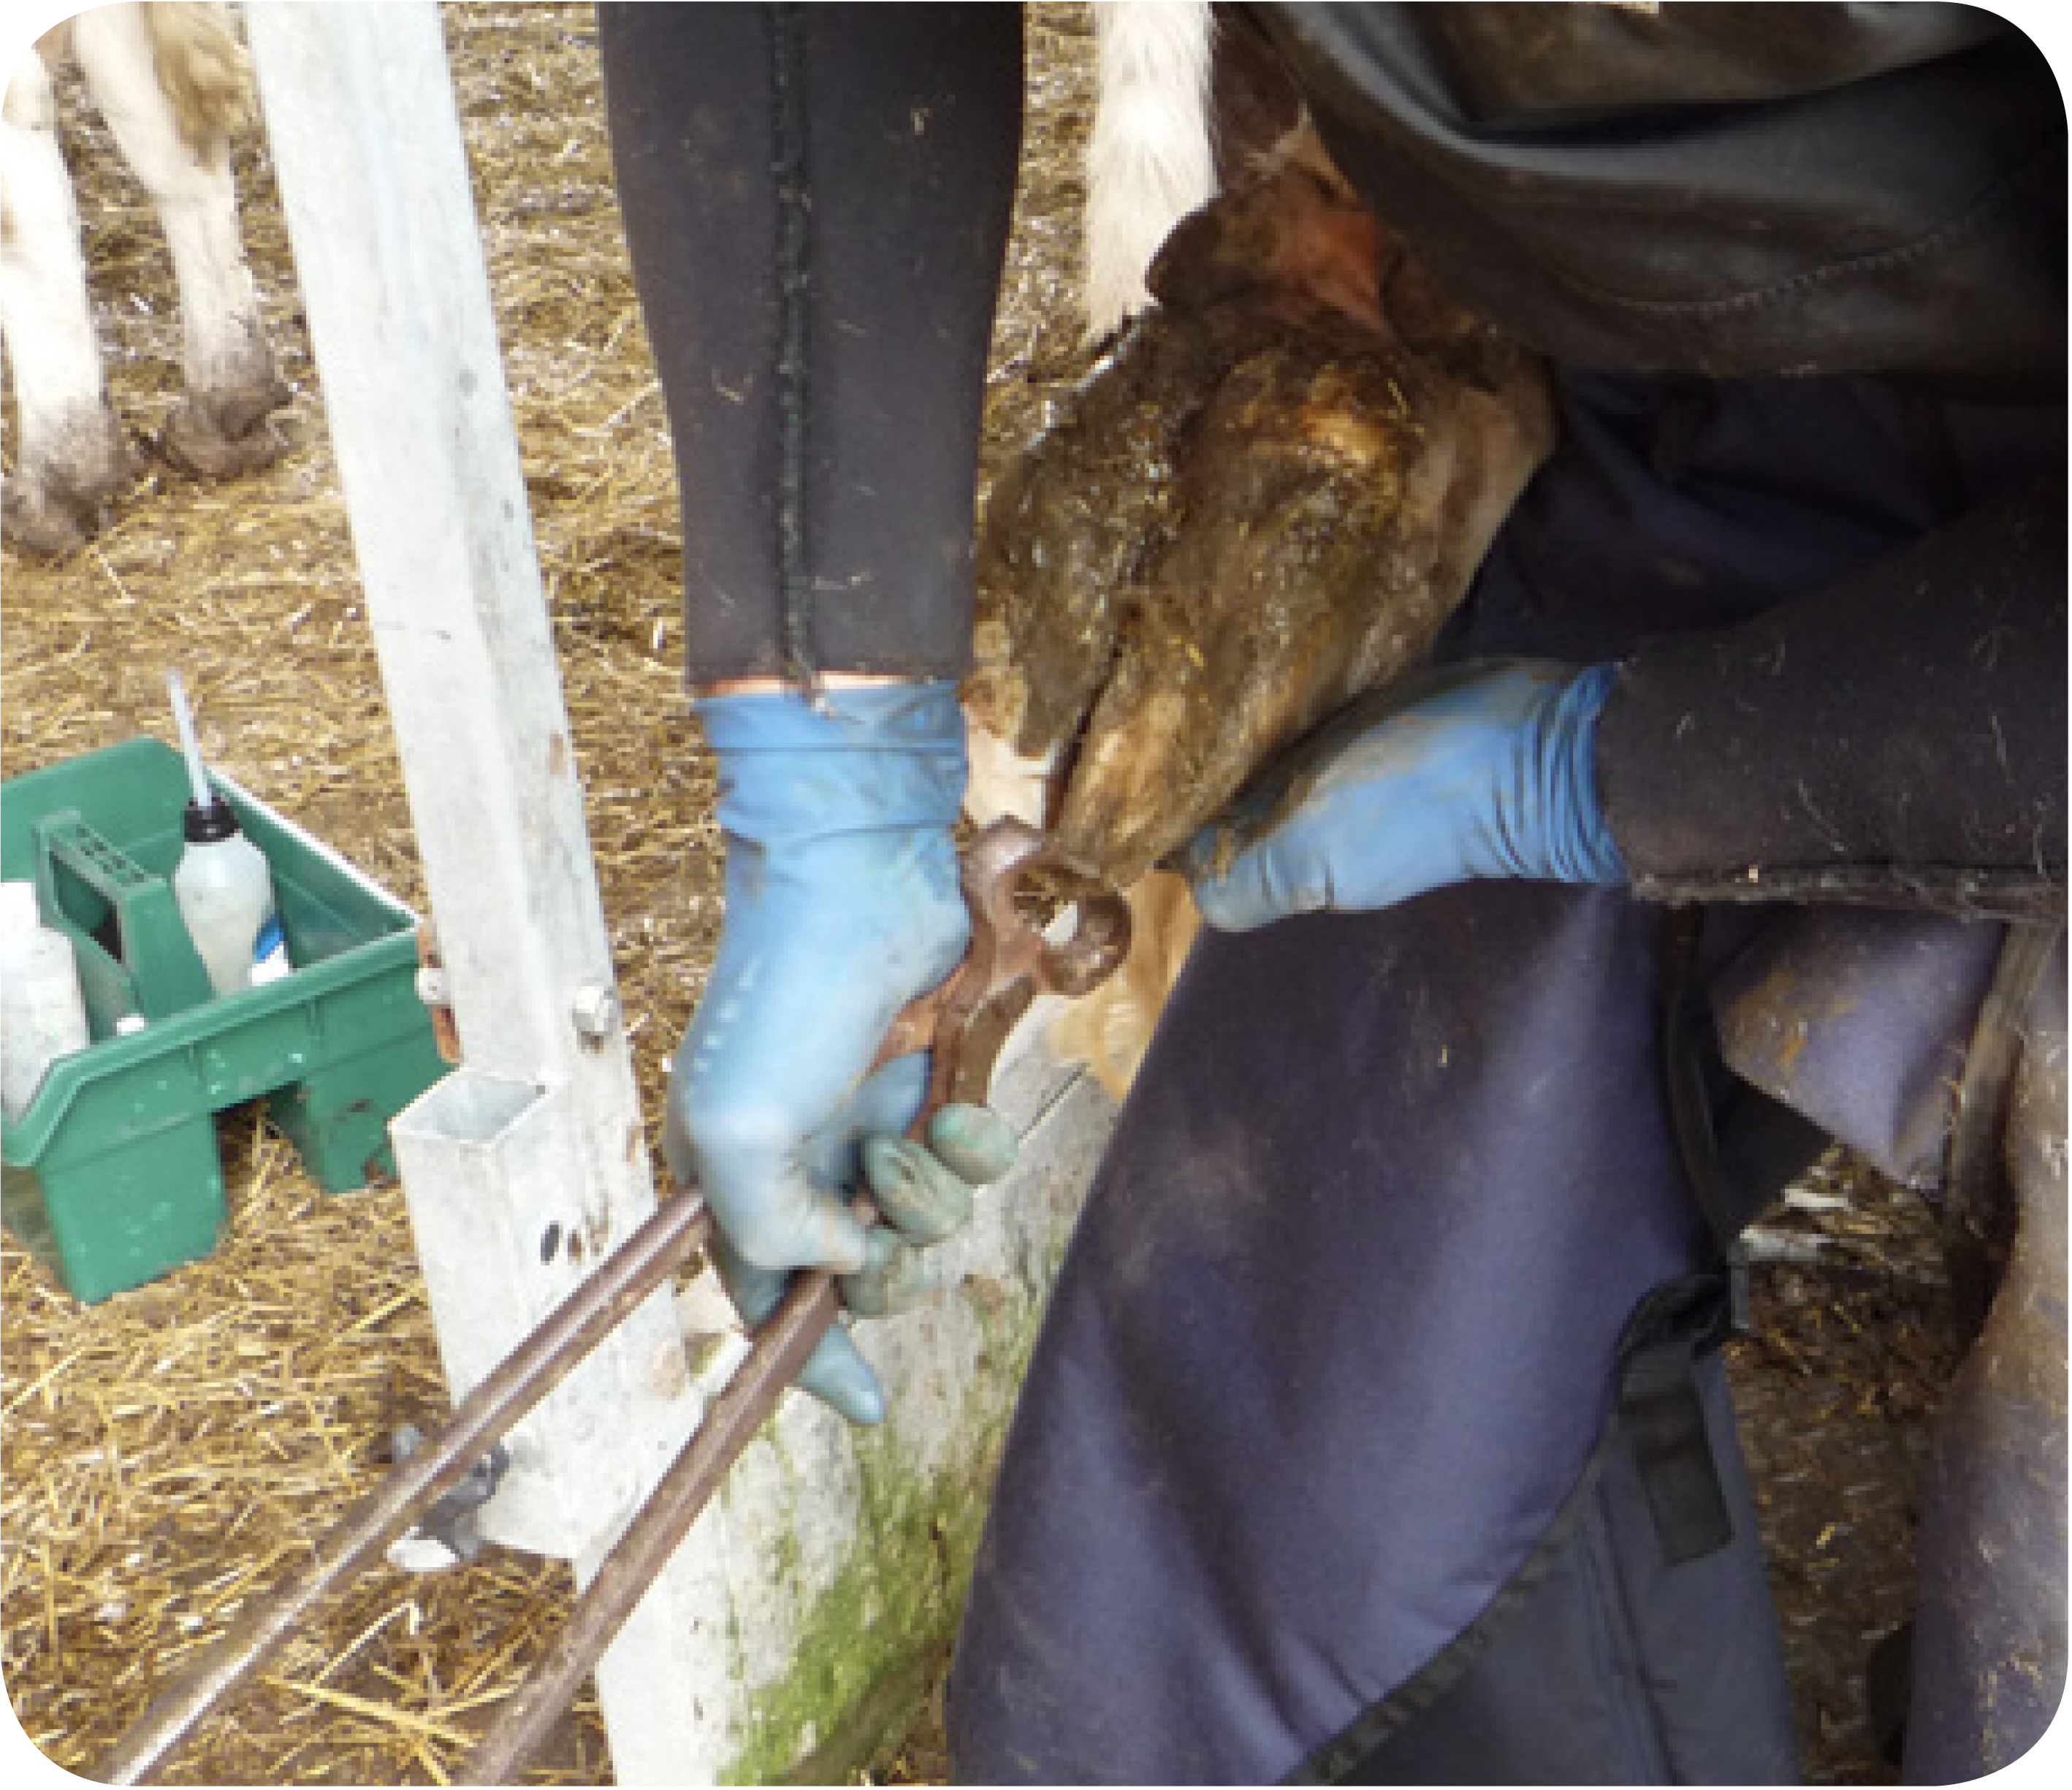
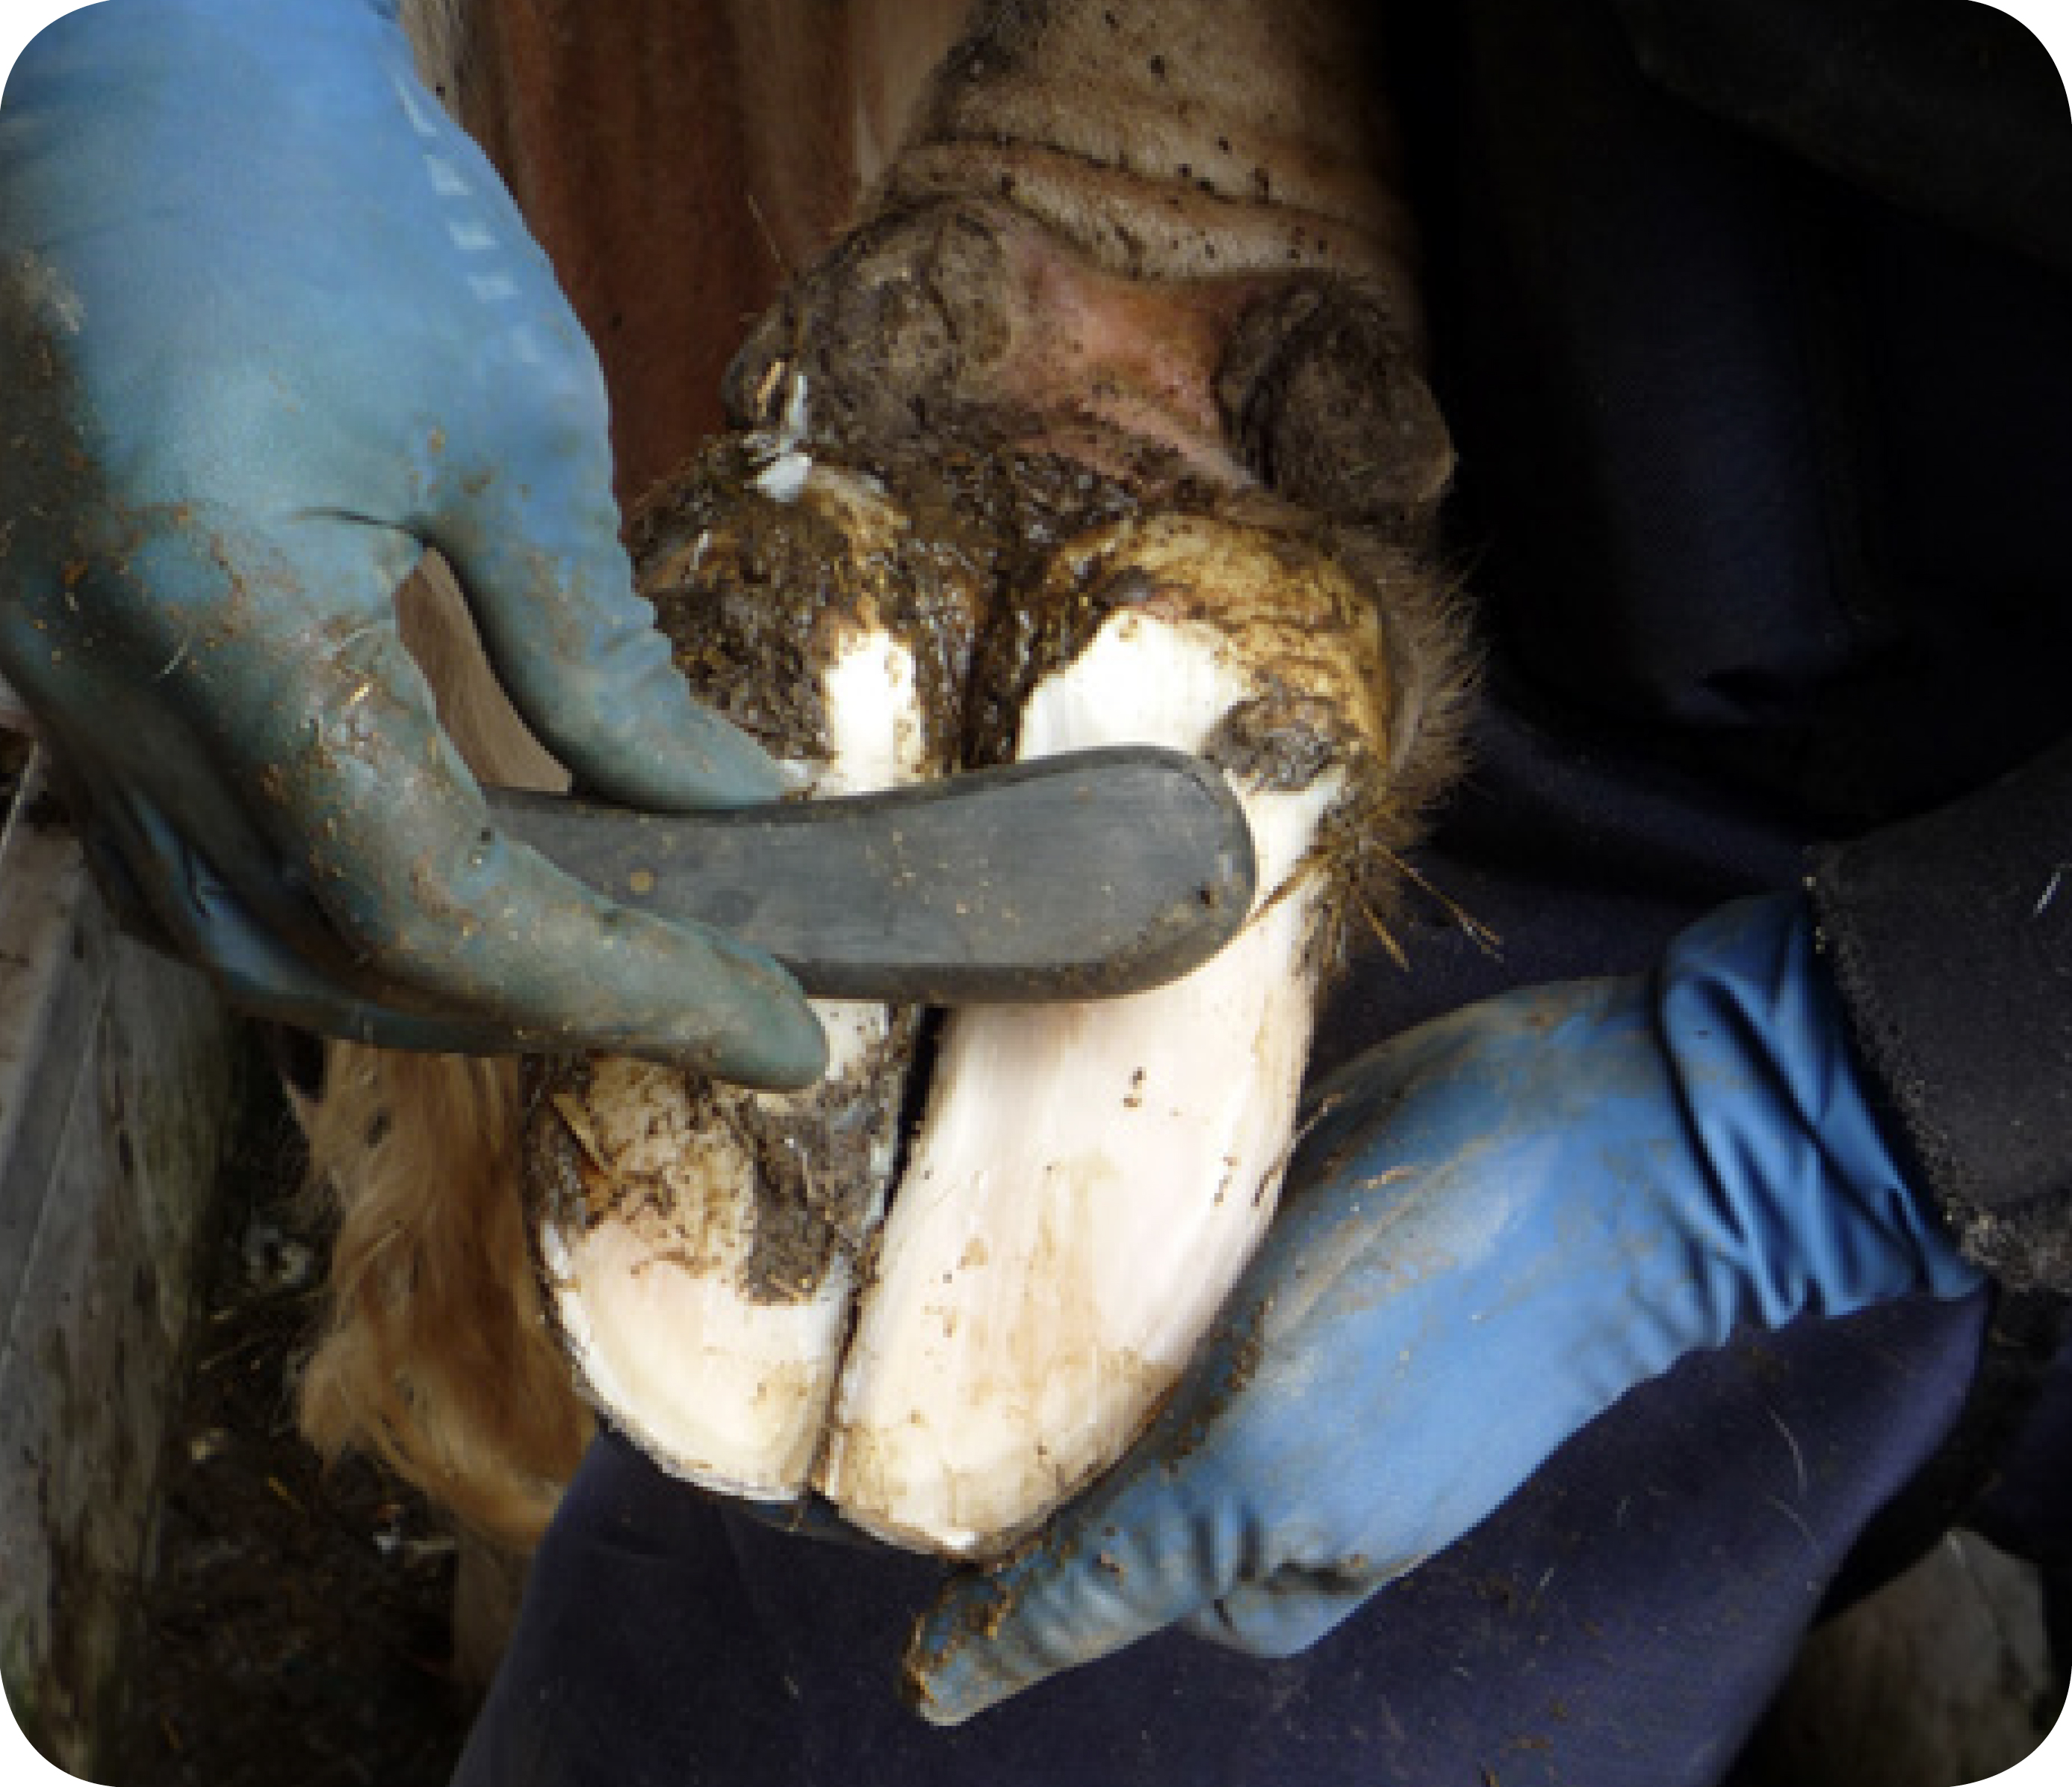
Repeat for outer claw, levelling up to the inner claw. Normally, more horn must be removed from the outer claw. Only minimal horn is removed from the inner claw to retain weight-bearing.
Take care not to remove the axial white line weight-bearing horn, which stretches back from the toe a third of the way along the axial wall (inner wall of claw).
Step 3 – ’Dishing’ out the claws
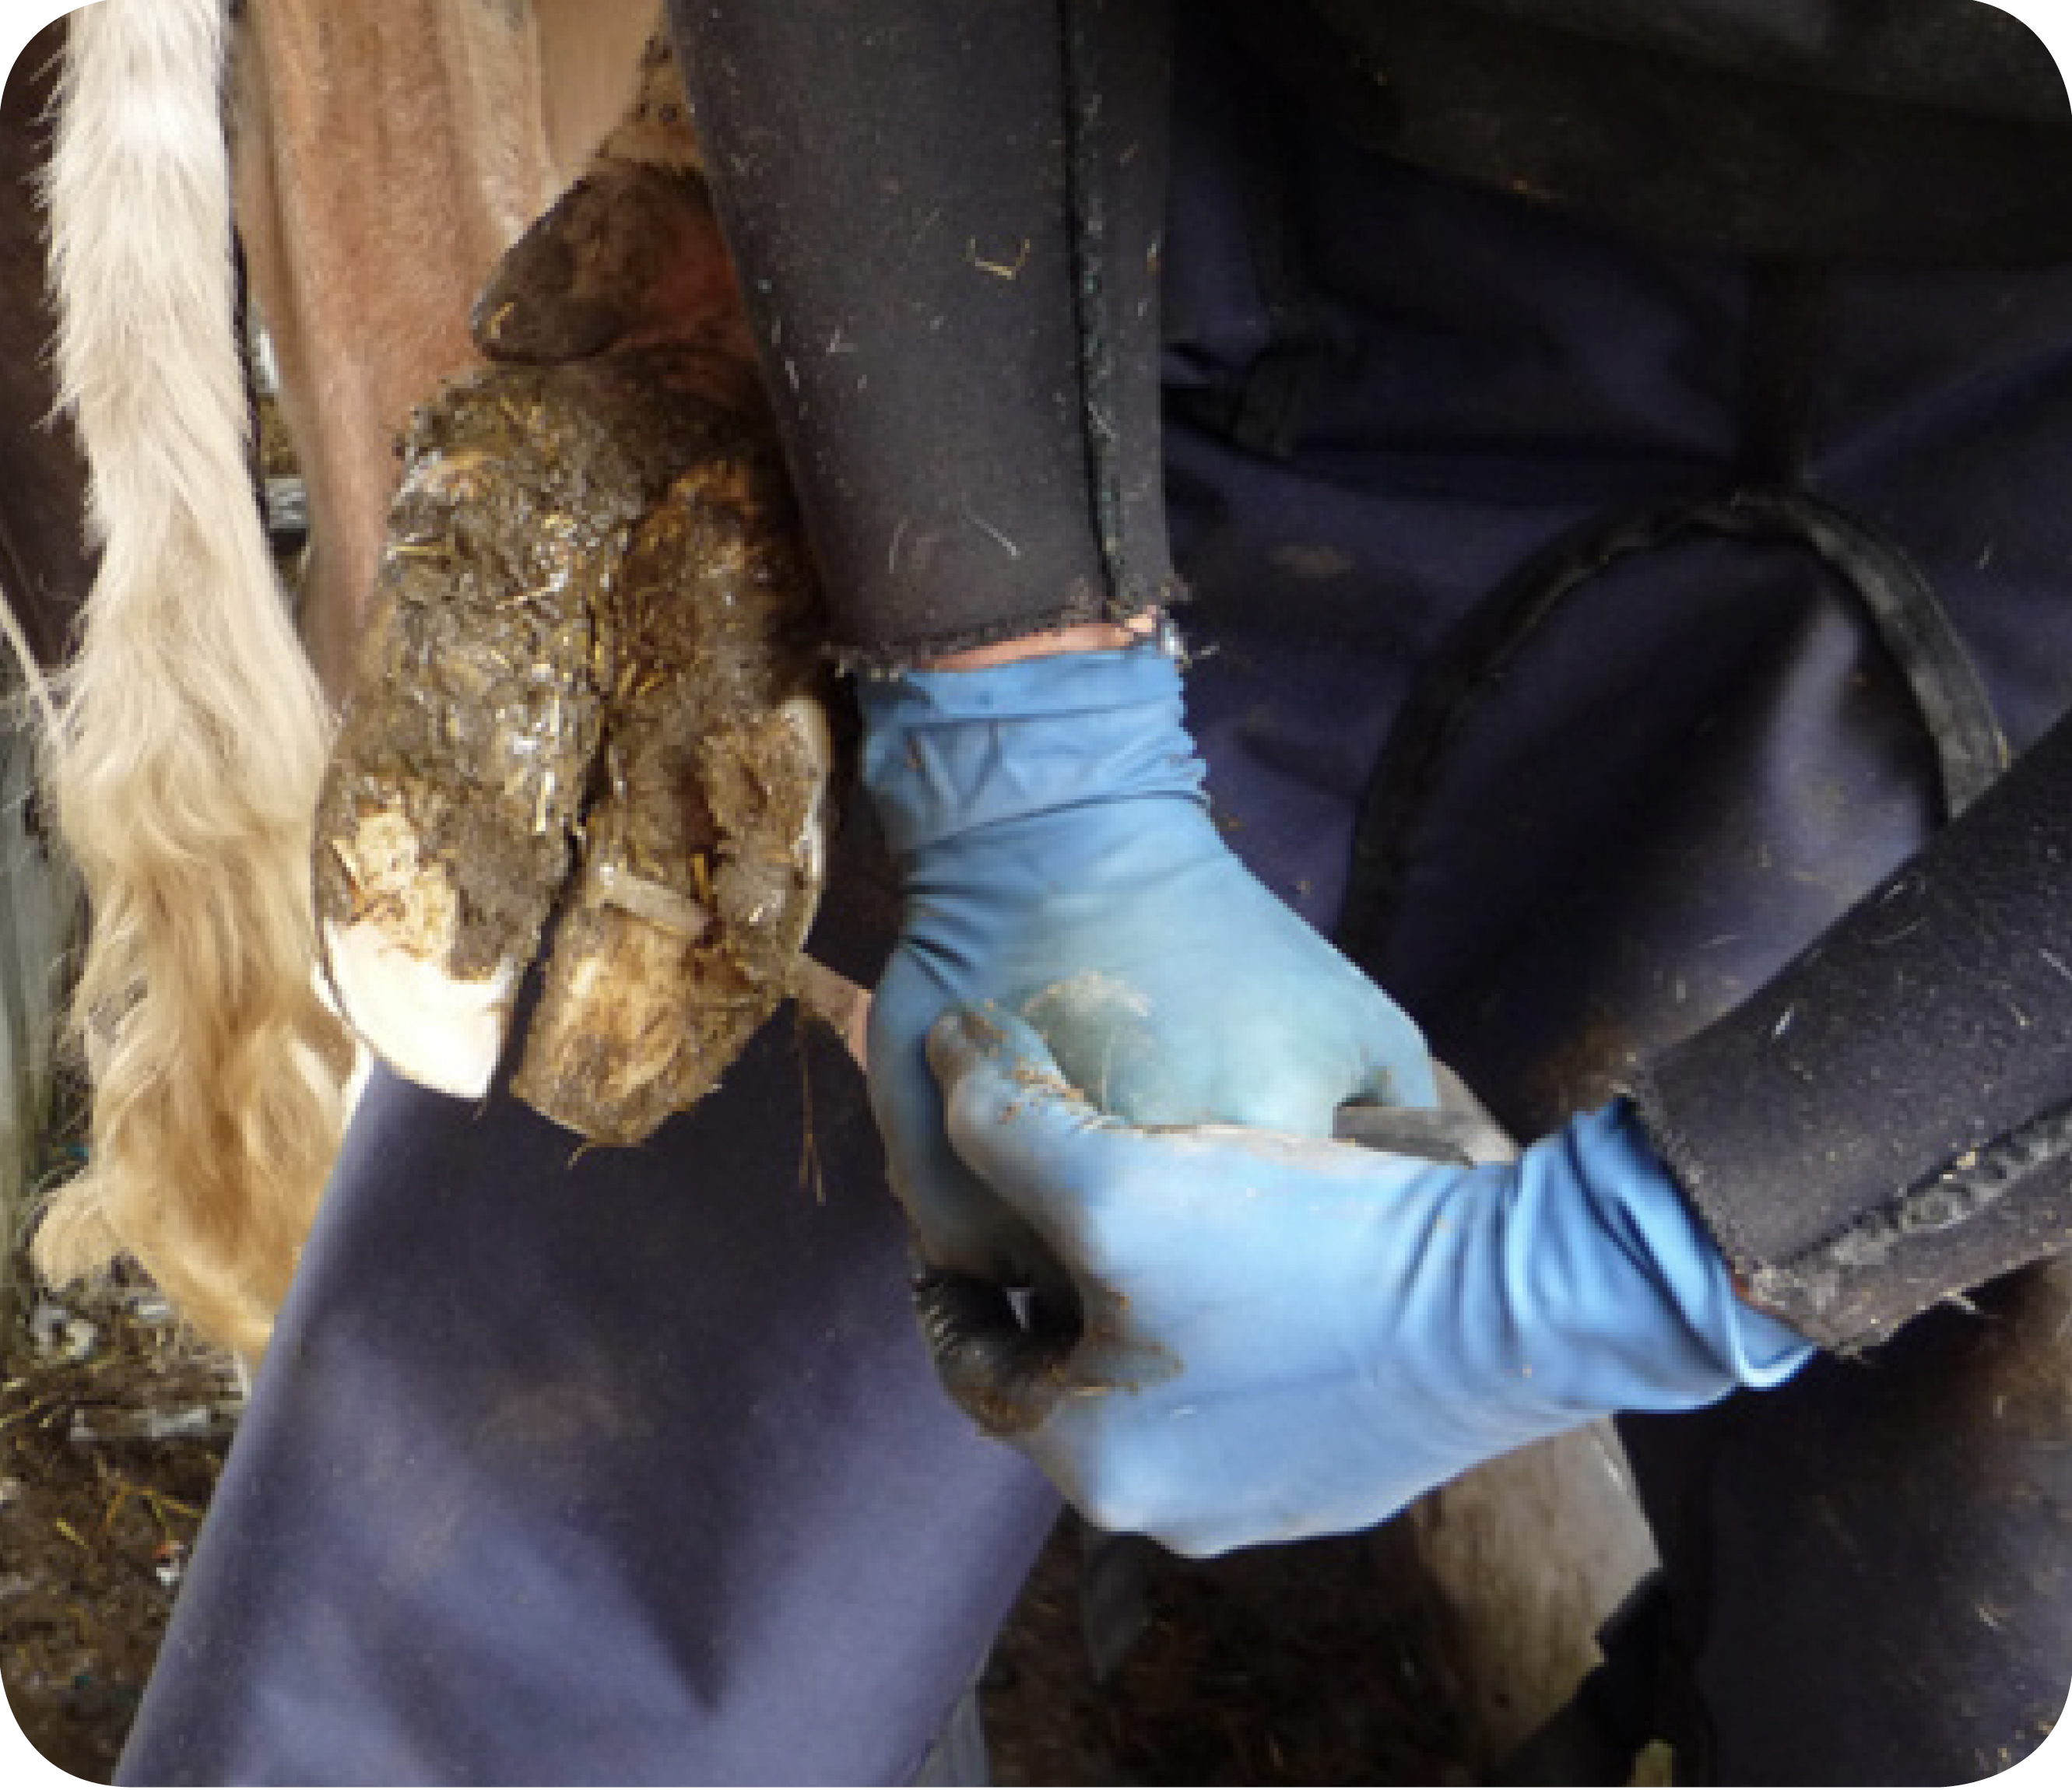
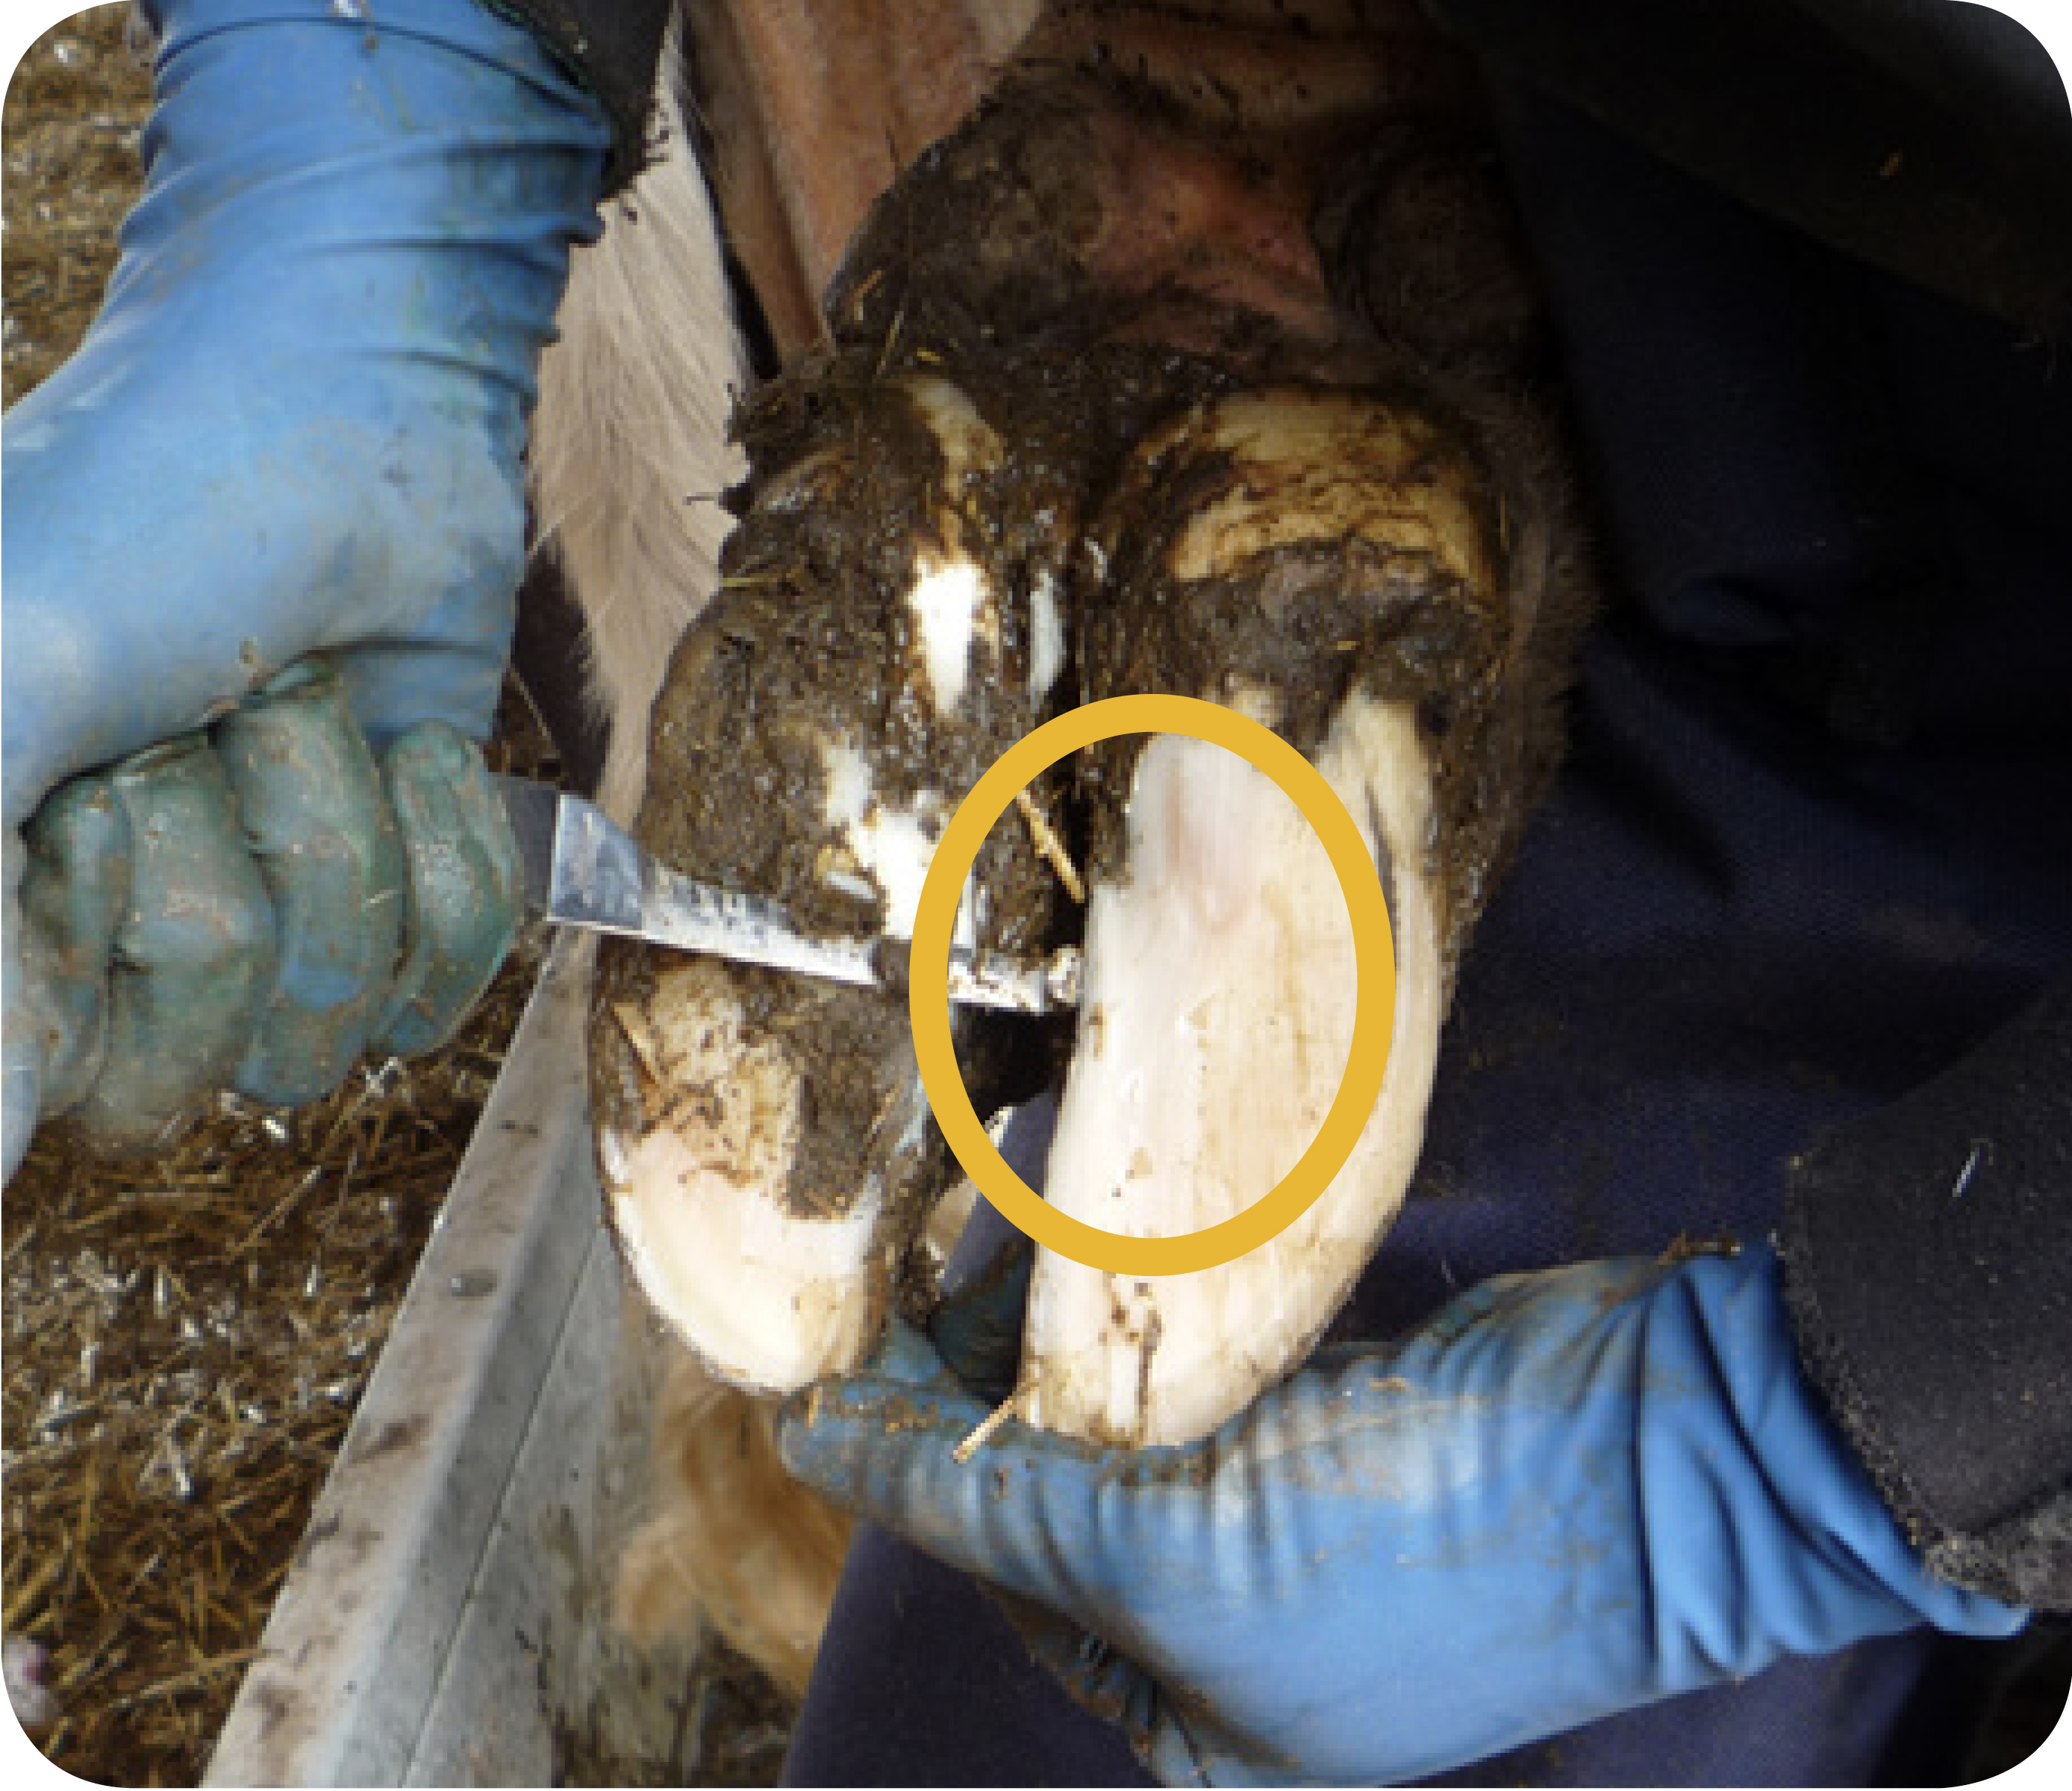
Model (dish) out the inner parts of both claws, behind the wall on the inner claw edge, to allow a flow of muck between the toes and to reduce weight-bearing on the typical sole ulcer site – see area circled in yellow.
It is important to ensure that the modelling does not extend into the toe triangle as this results in removal of the weight-bearing axial wall.
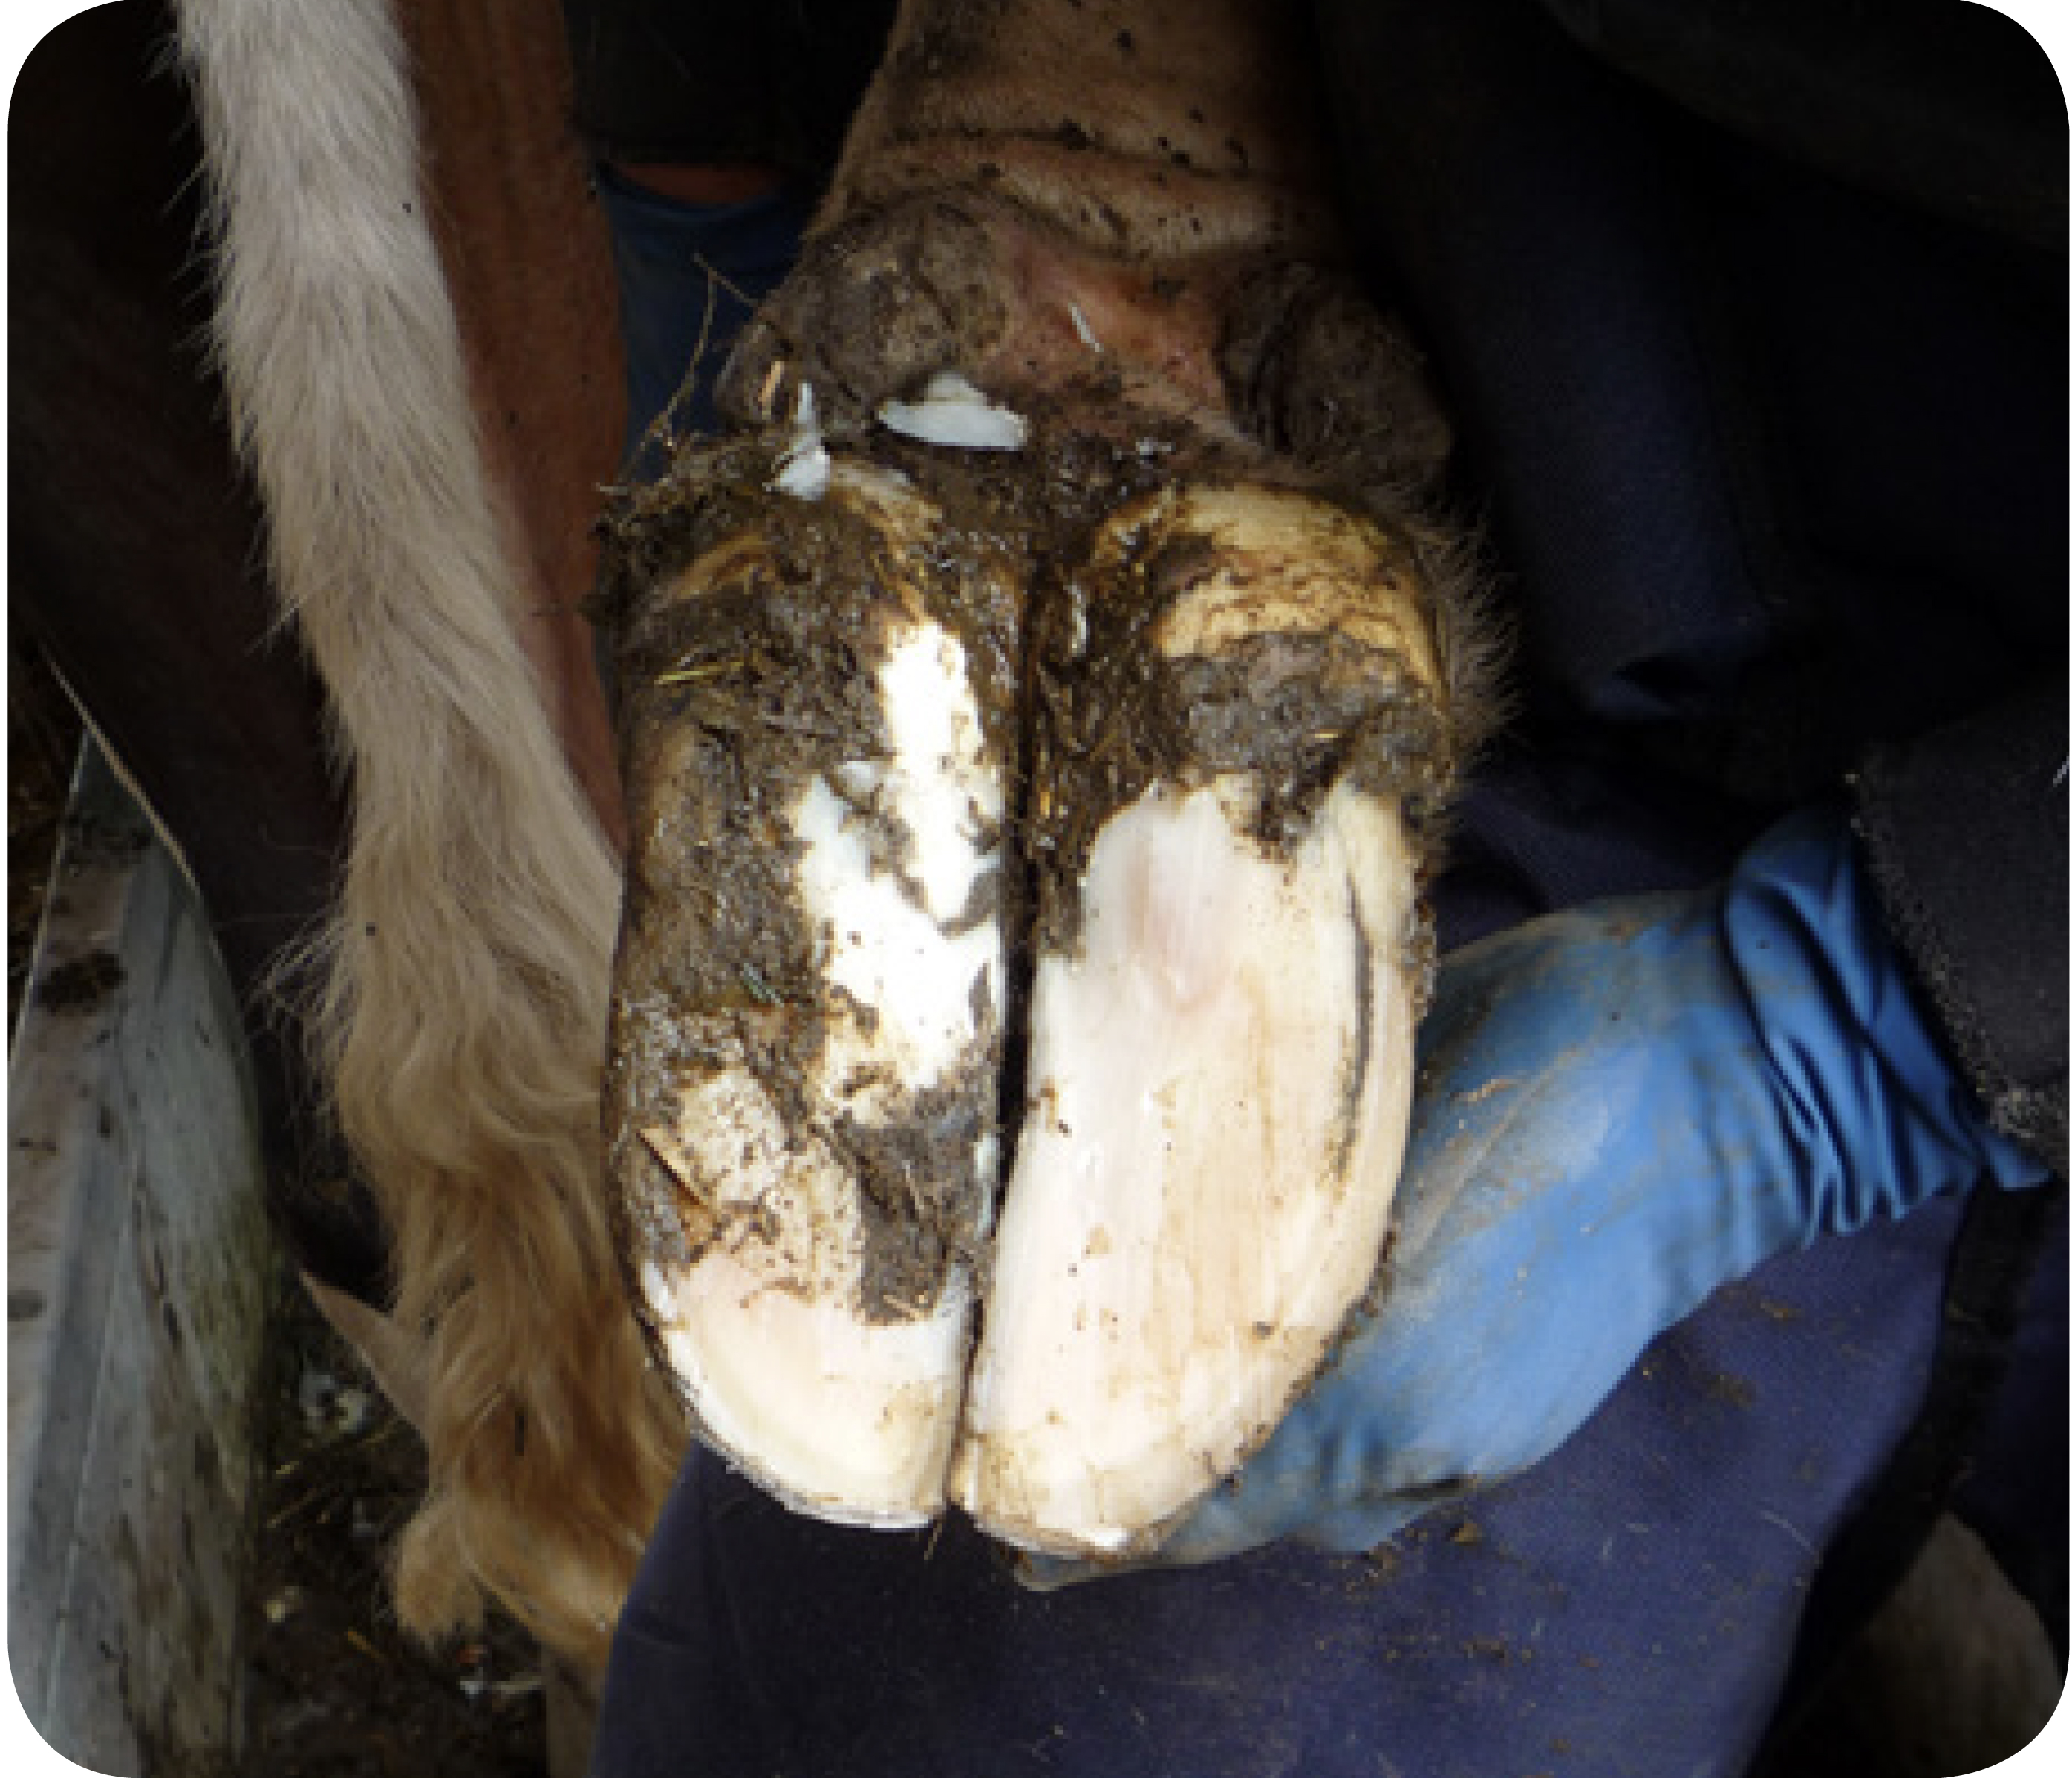
For routine foot checks and trims, such as at drying off, these three steps will be sufficient if no injury or problem is found. Proceed to steps 4 and 5 wherever a problem exists.
Step 4 – Relieving weight from affected claw
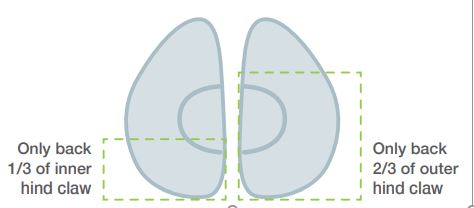
Create a height difference for the painful claw (one with a horn lesion) so injured parts bear less weight and can recover. In most cases, horn is removed from the back 2/3 of the outer claw.
In most cases, a block should be applied to the sound, healthy claw to create a height difference. If not applying a block, check the height difference with the flat of the hoof knife handle.
Always conserve horn on the inner claw to bear weight.
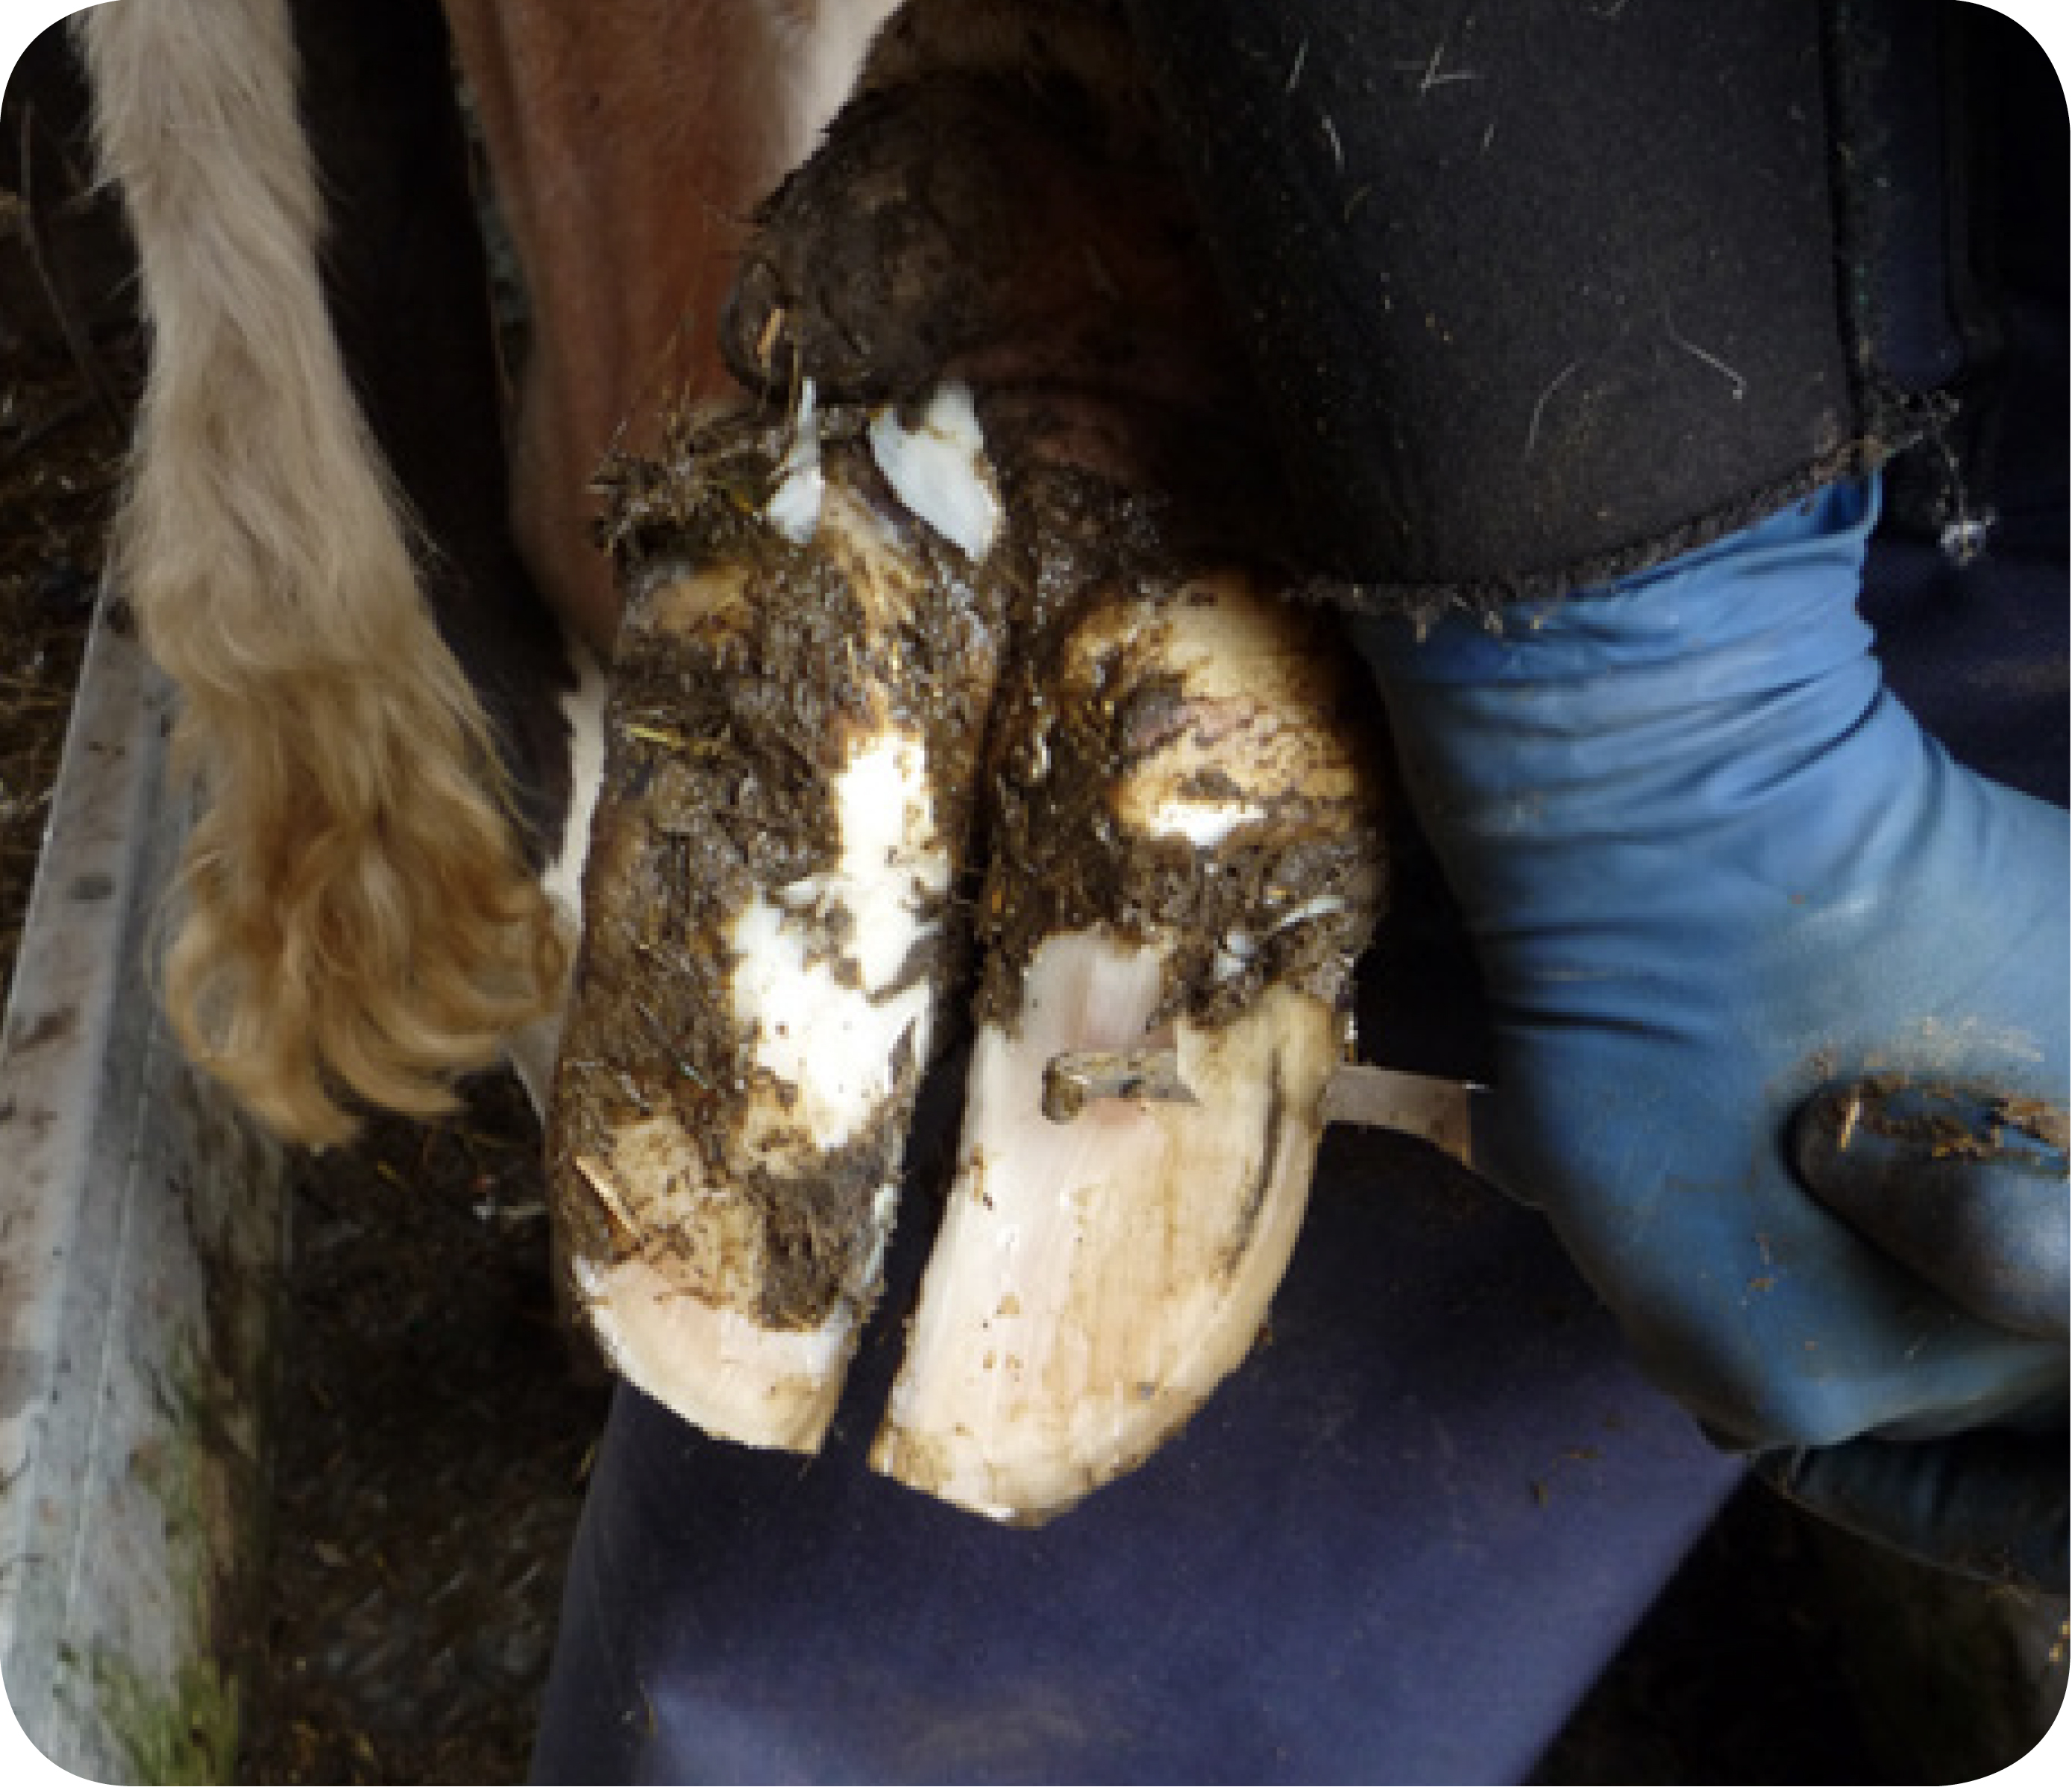

Step 5 – removing loose horn
Remove any loose horn from the heel, which is more common in cases of heel horn erosion. Beware of removing too much weight-bearing surface from the bulbs of the heel. Check between the claws and at the heel for digital dermatitis.
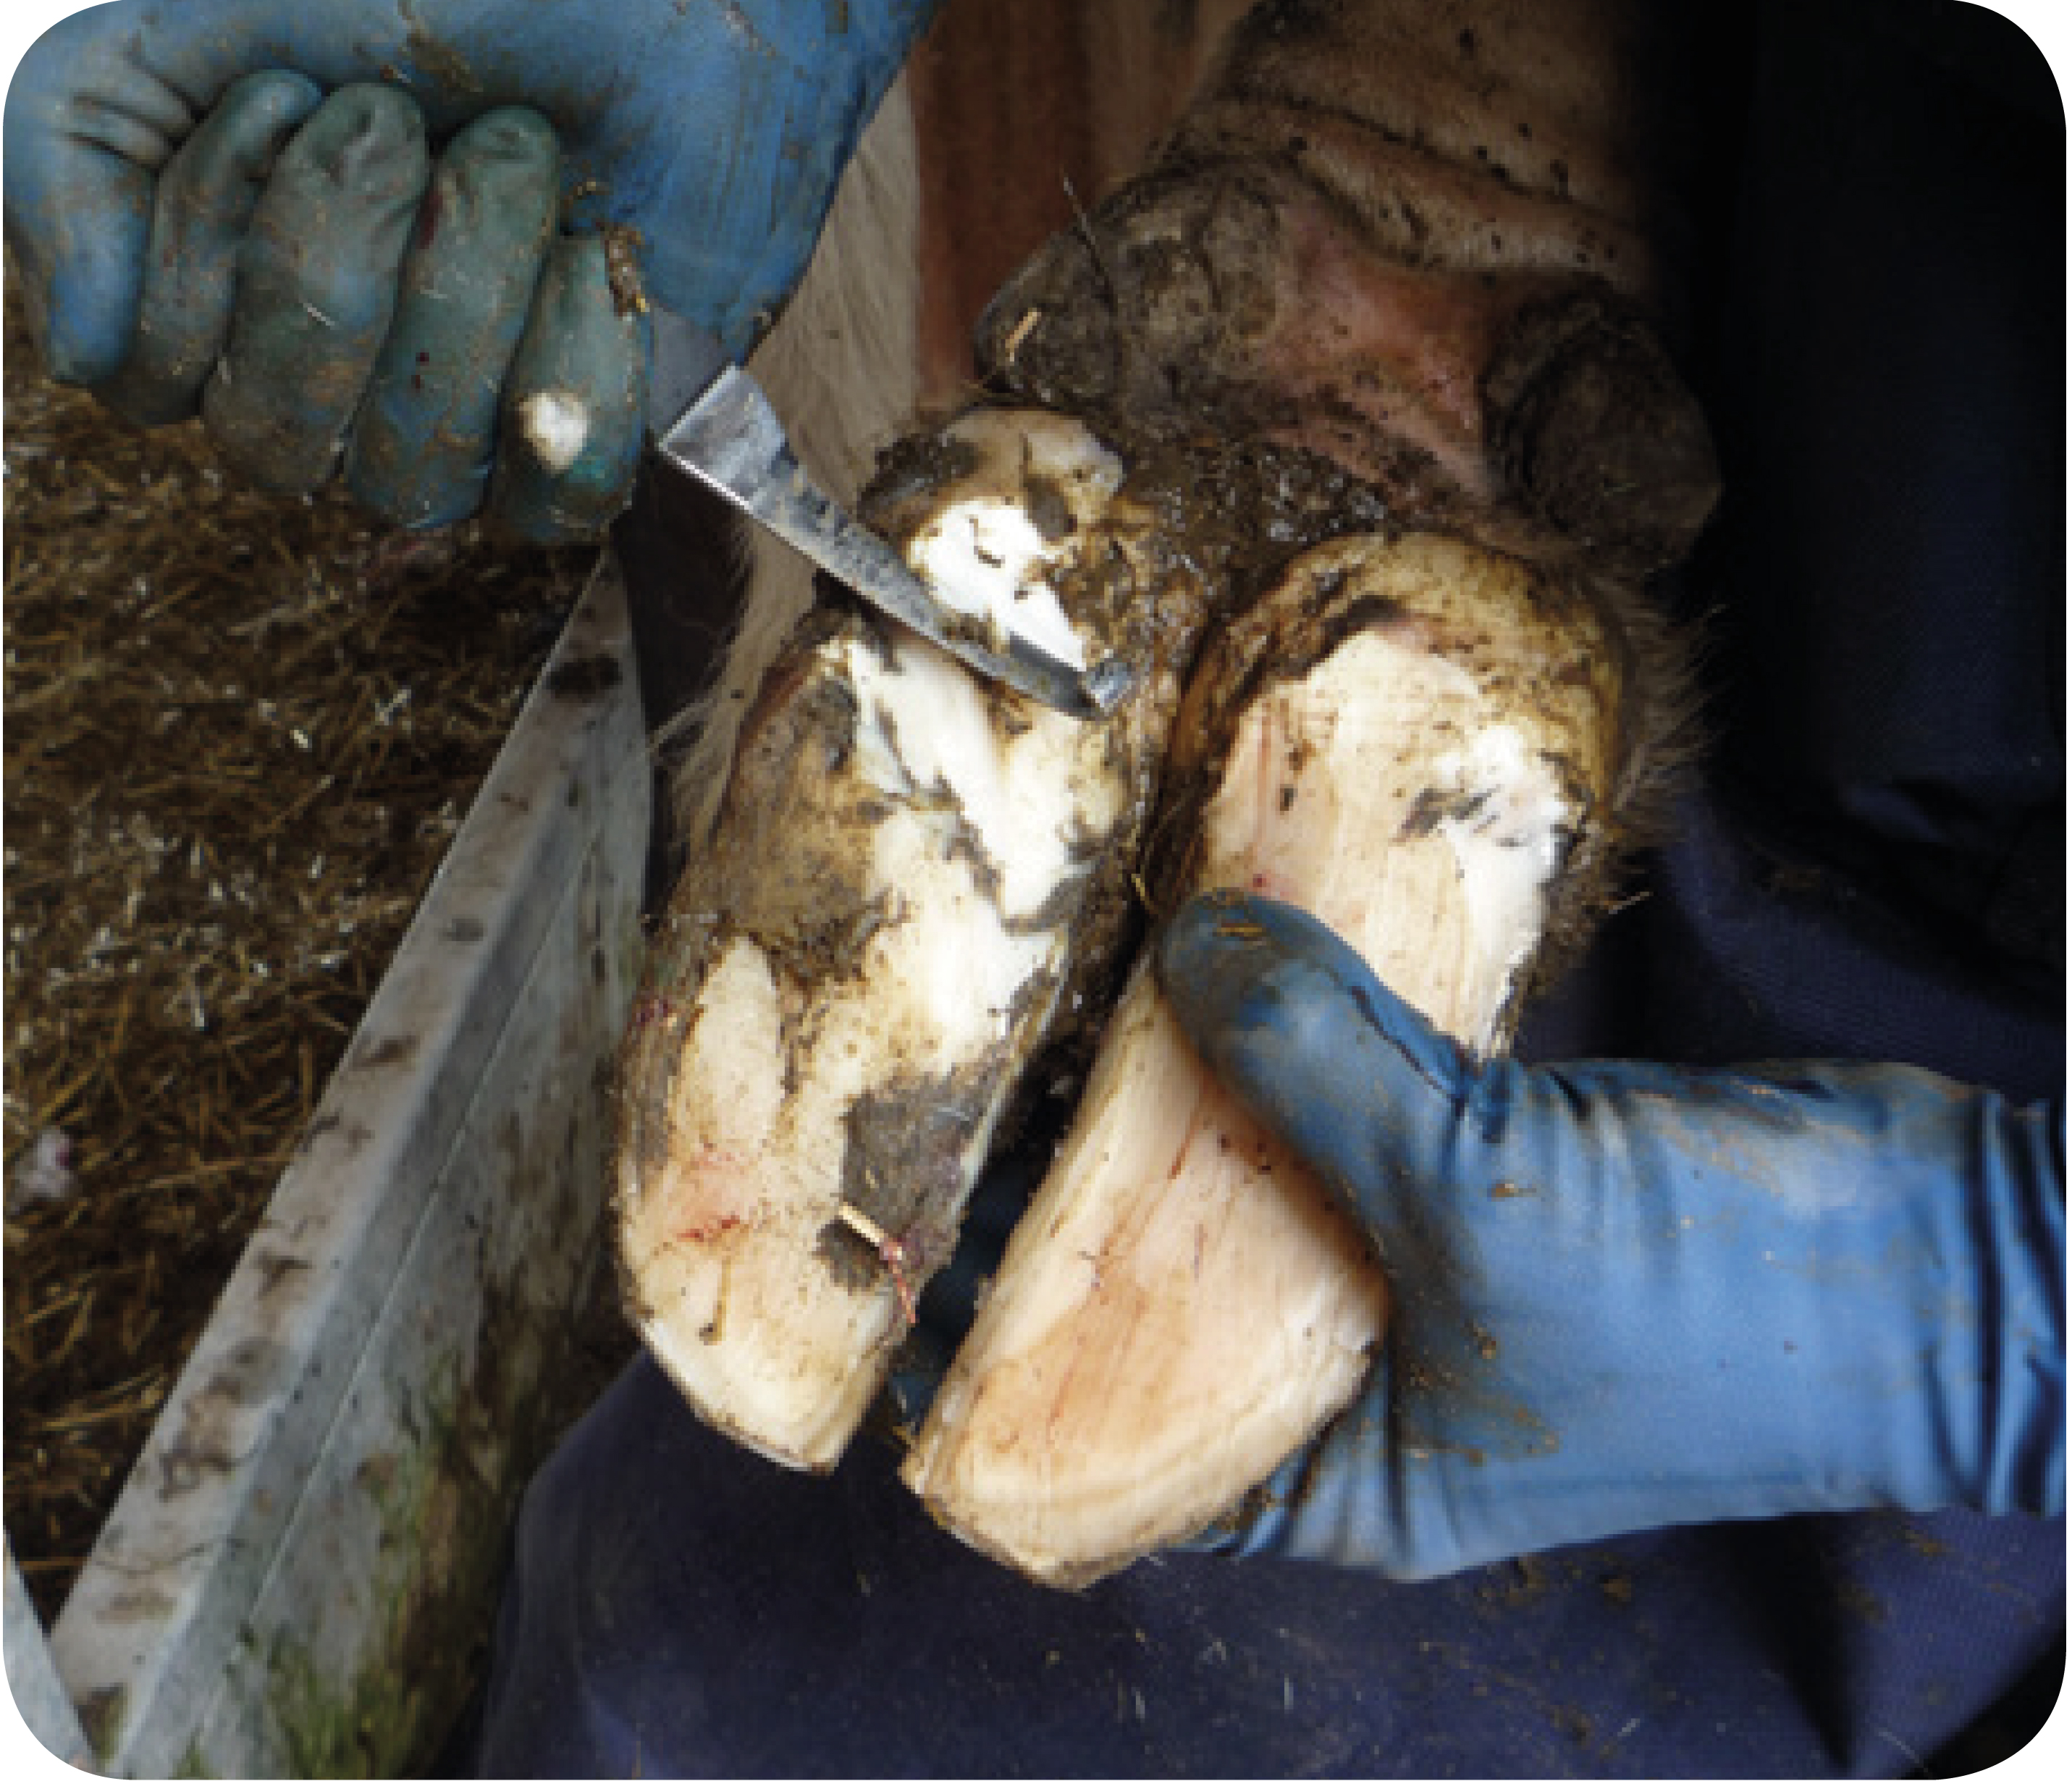
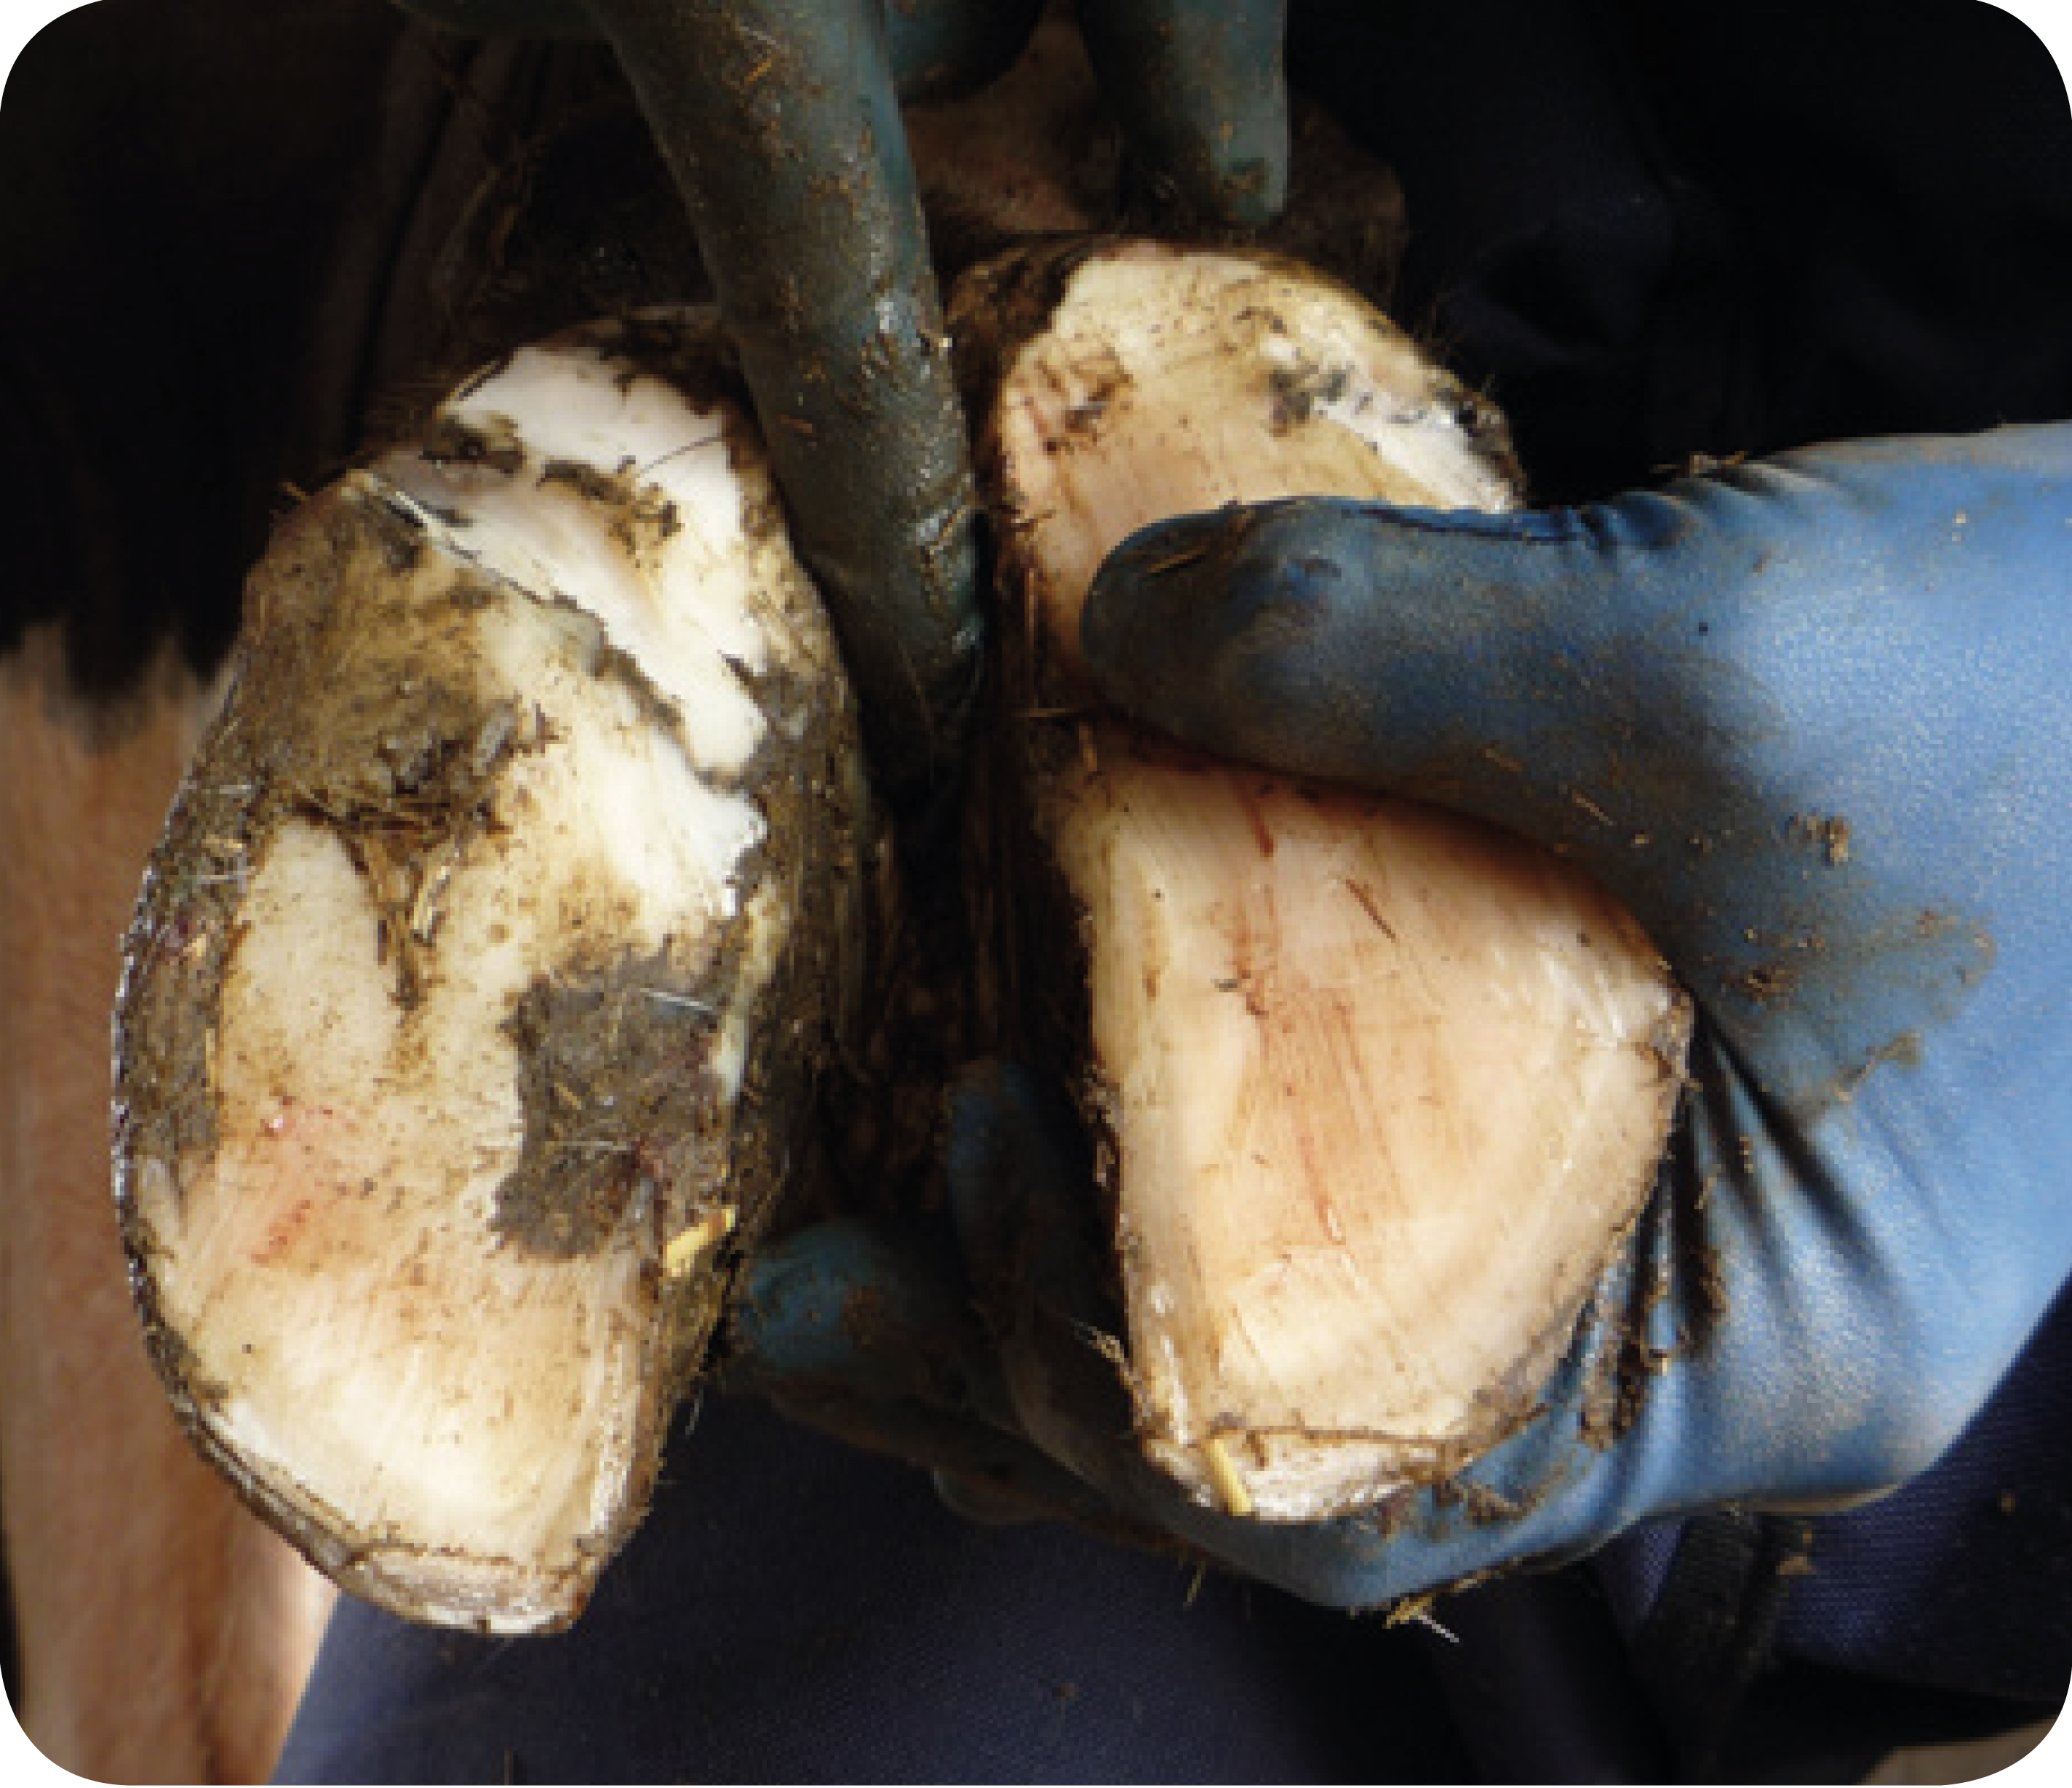
The procedure for front feet is similar, except that the outer claw is trimmed first and the inner claw is the most likely to have injuries. Preserve horn on the outer claw.

